Tips for Small Cameras

Usually, I post tips for cameras like the one I use (a Canon Digital Rebel T3i — a DSLR). However, as Ashley commented a few photography posts back, not everyone has these “fancy cameras.” What then?

The closest thing I have to a simple “point-and-shoot” (or “cheap”) camera is my iPhone 4s (8 megapixels–compared to my T3i’s 17.9 megapixels). While I’m not about to go do a professional photoshoot with my iPhone, I do use it on the go, and here are a few things that I have learned.

Understand Your Camera’s Limitations
Don’t expect a small camera to take the images that a larger, more expensive camera will take. There will be some areas where you’ll need to compensate for your camera’s lack of technology. For example, cheap cameras need good lighting to make clear images. You cannot take pictures “on the move” as easily (move “travel pictures” will be blurry). Also consider your camera’s focal length — some cameras can get within two inches of a flower, other cameras need about six inches to focus. Be willing to work with your camera. Make sure there’s good lighting. Make sure your camera is focusing at the distance you have it.

Work on Your Eye
A camera should not limit your creativity. I have seen some pretty amazing pictures by people who have small cameras. Work on your angles. The tips that I mentioned in this post and this post can be applied to any camera. Get out, take pictures.

Some Tips
1. Keep your camera steady
Most small cameras don’t like shaky hands. Give yourself a sturdy grip on the camera–use something external to anchor your arms/hands (for example, prop your elbows on the ground).

2. Have good lighting
Your camera will probably give you bad grain if you don’t have good enough lighting. So, if you’re going out to get some prize pictures, make sure you have good lighting.

3. Work on your angles
Don’t let a small camera thwart your creativity! Work on your eye as you use your small camera.

From my Camera Bag (or card ;))
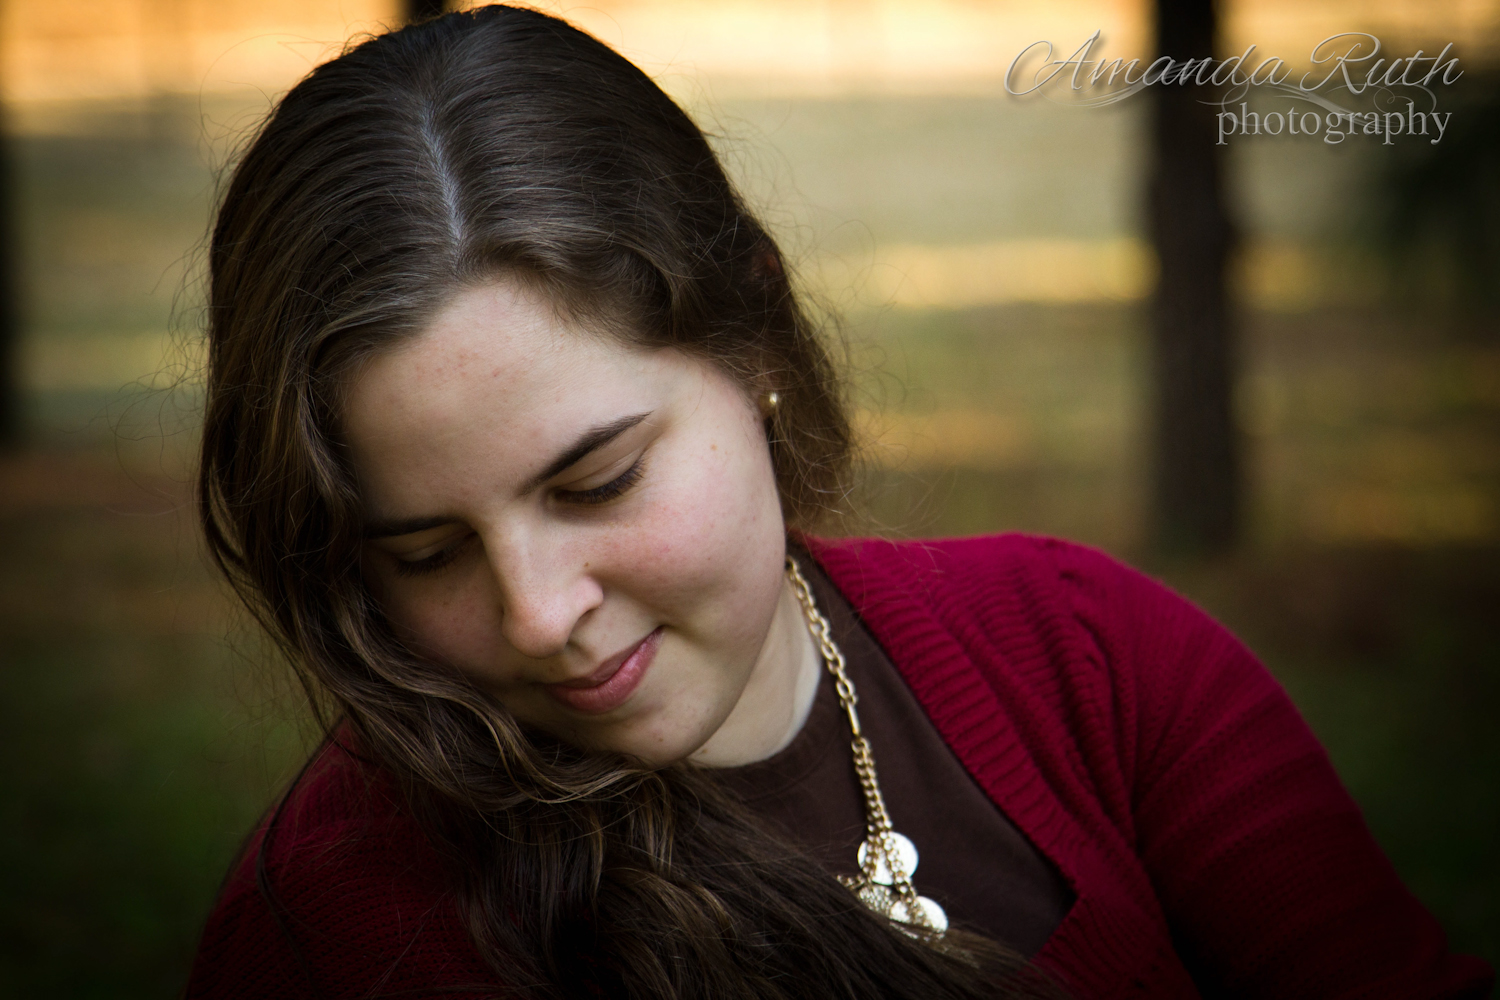
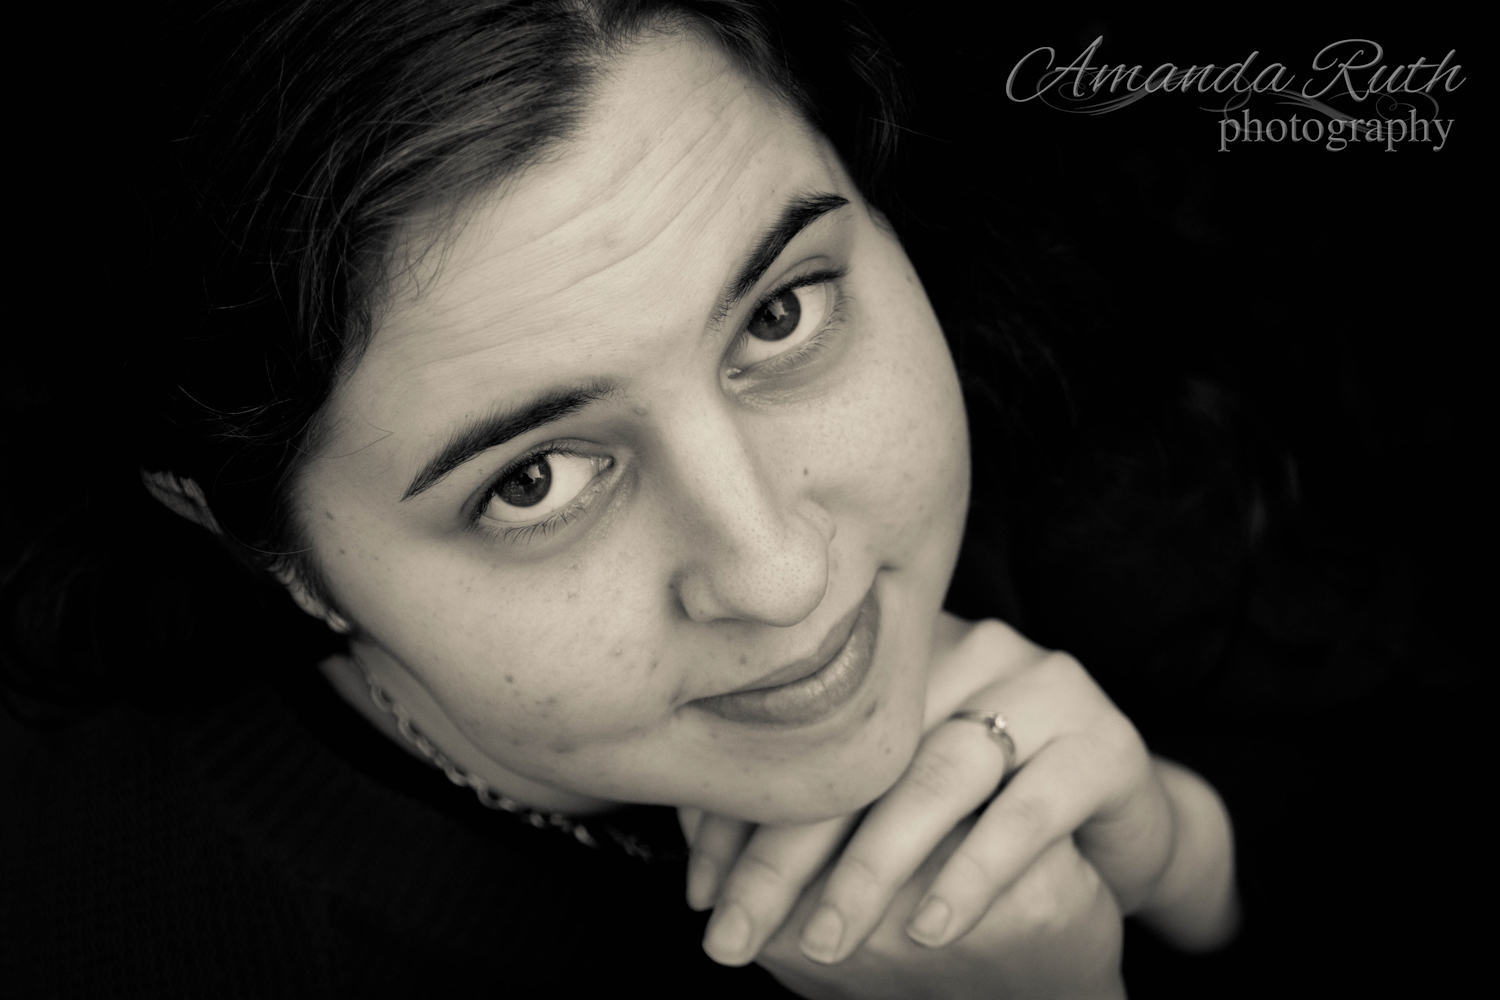
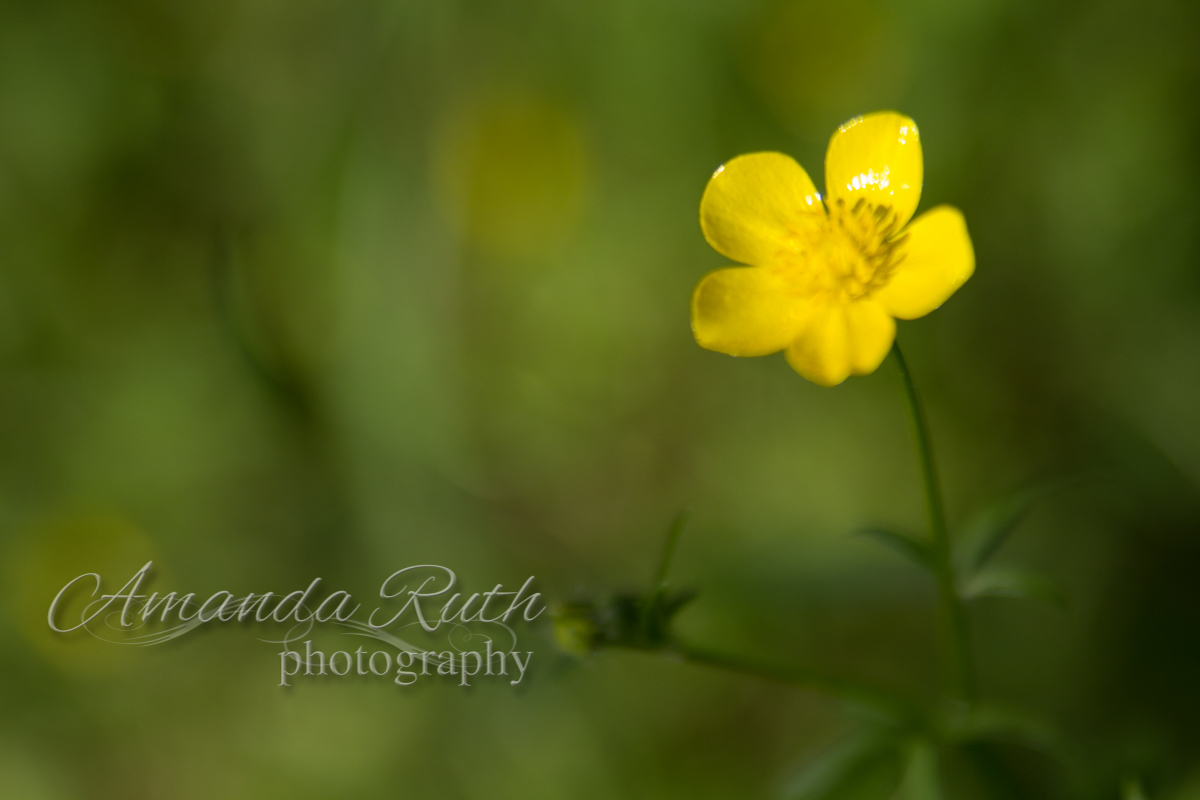
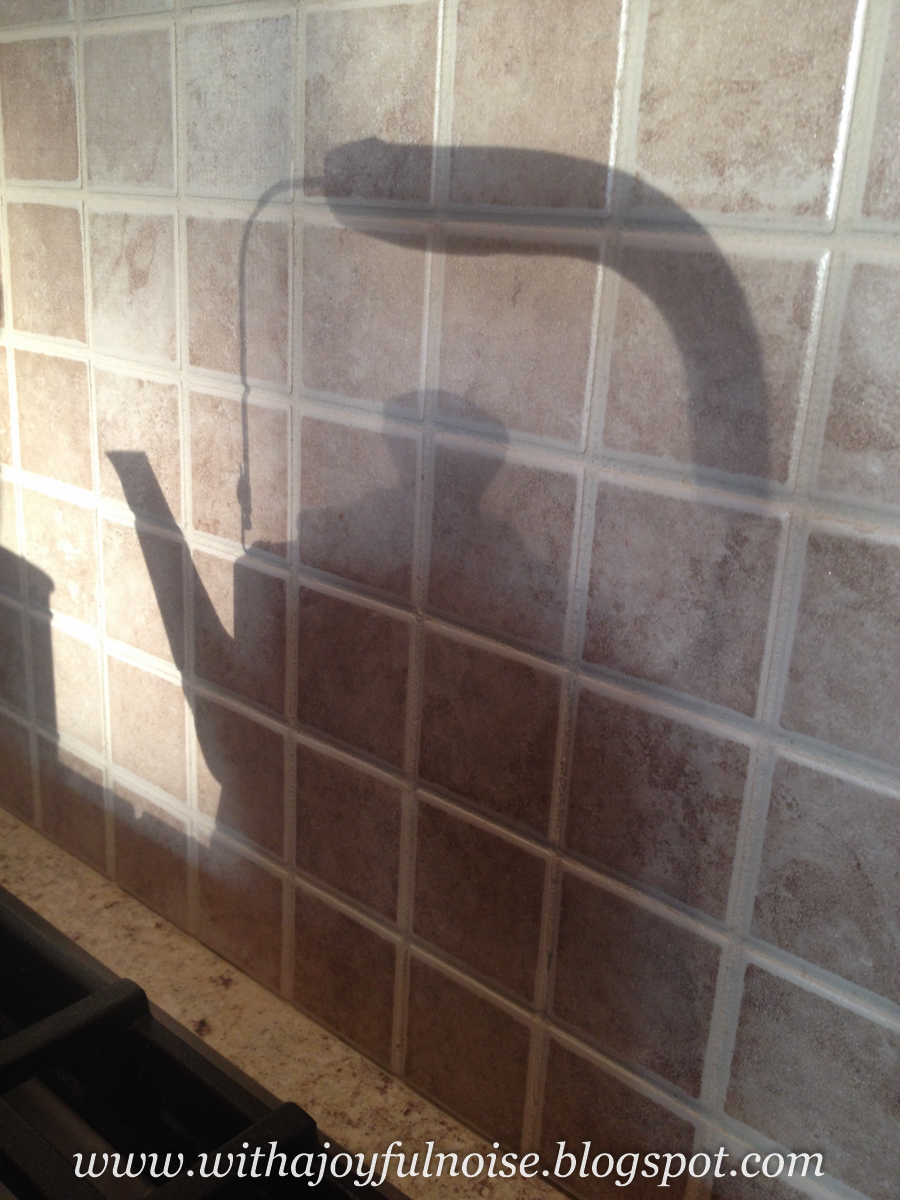
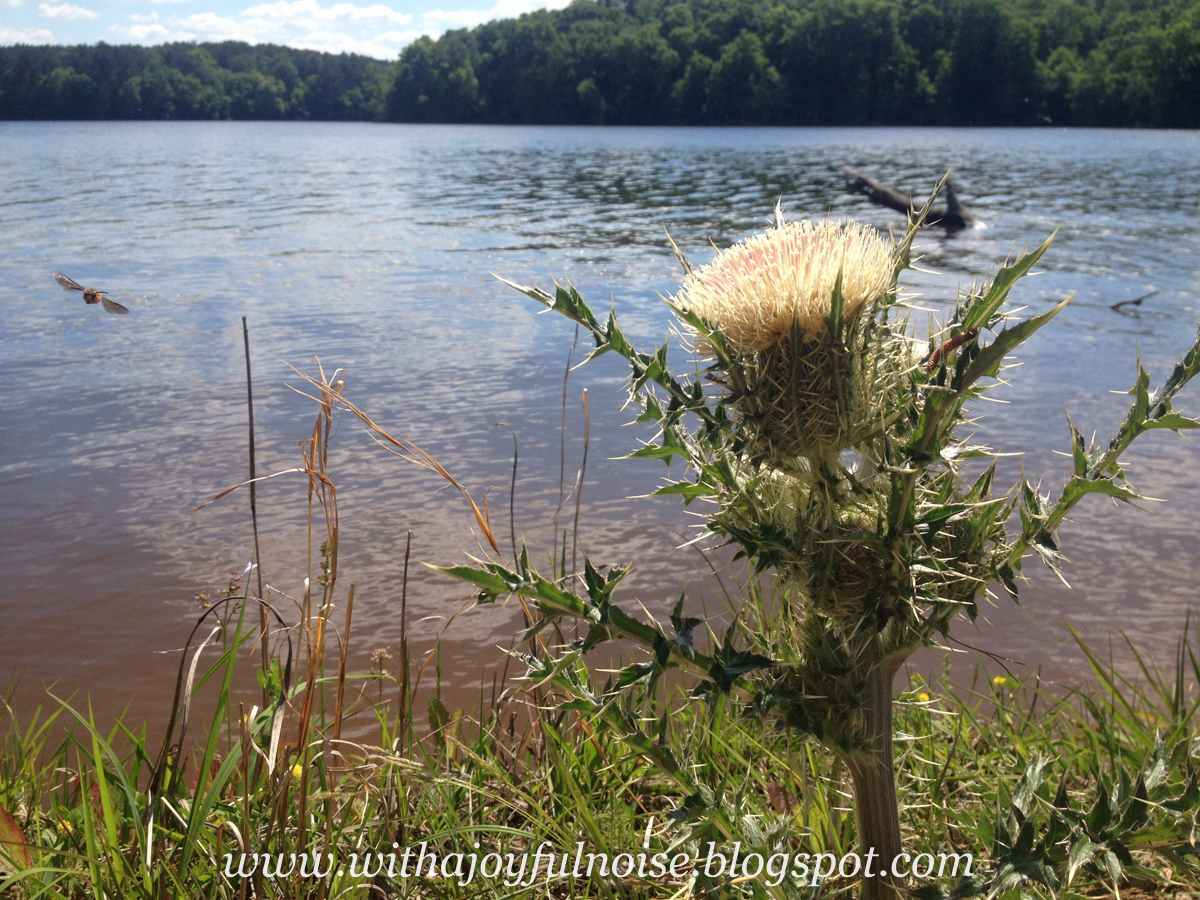
To be fair, here are some completely unedited pictures from my iPhone 4s. If you notice, with all of these, there is good lighting. And I’ll also acknowledge that I was picky with what pictures I chose. Some pictures from my iPhone are grainy, “just for the memory’s sake” pictures.

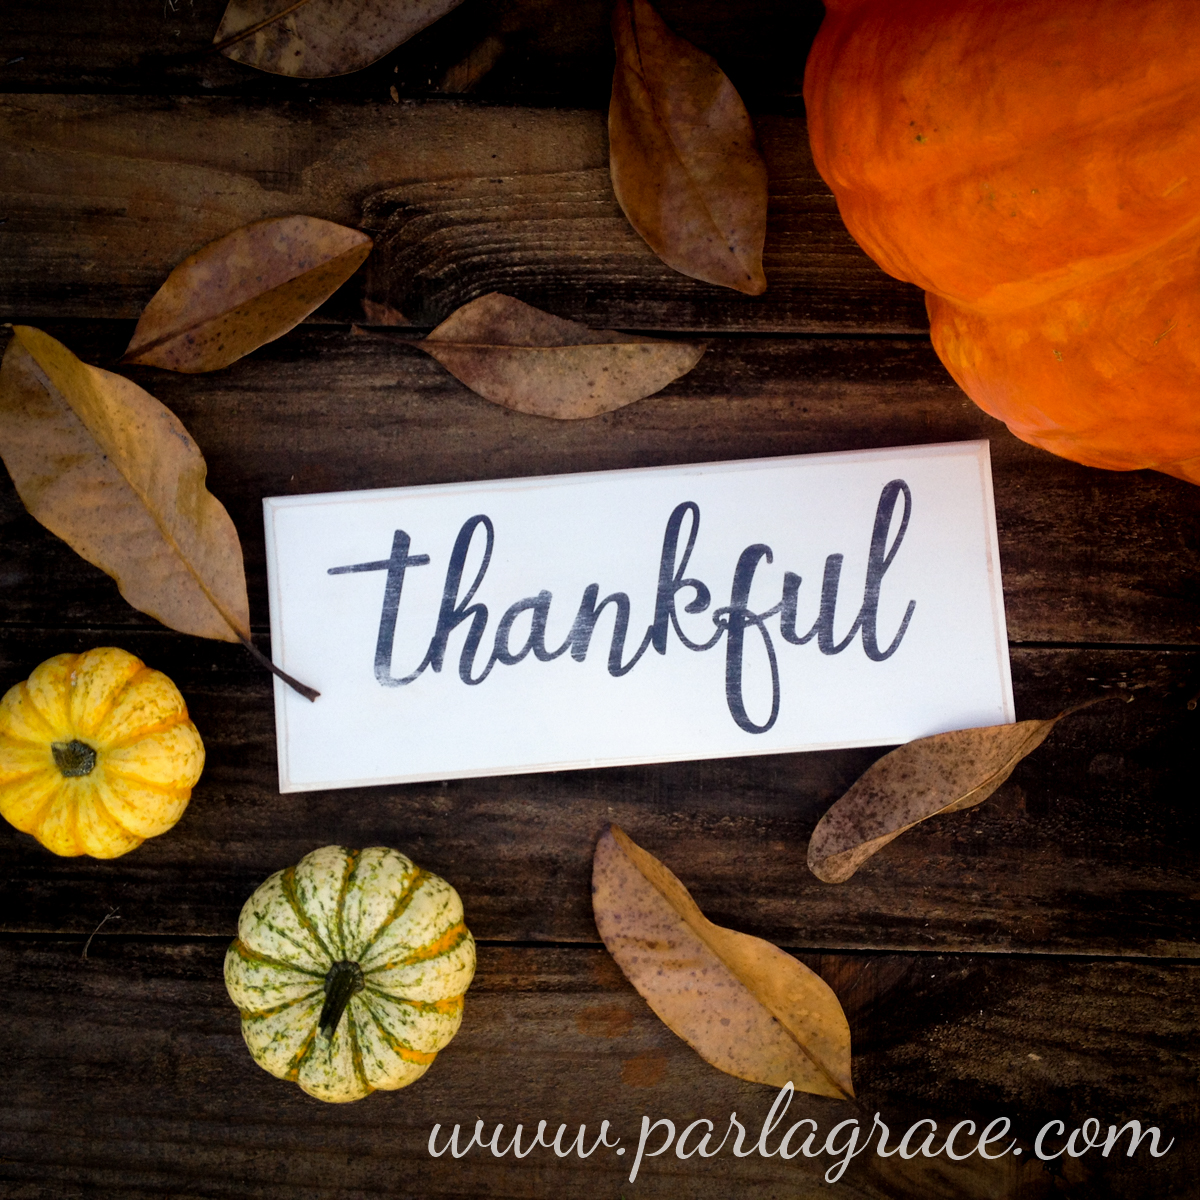
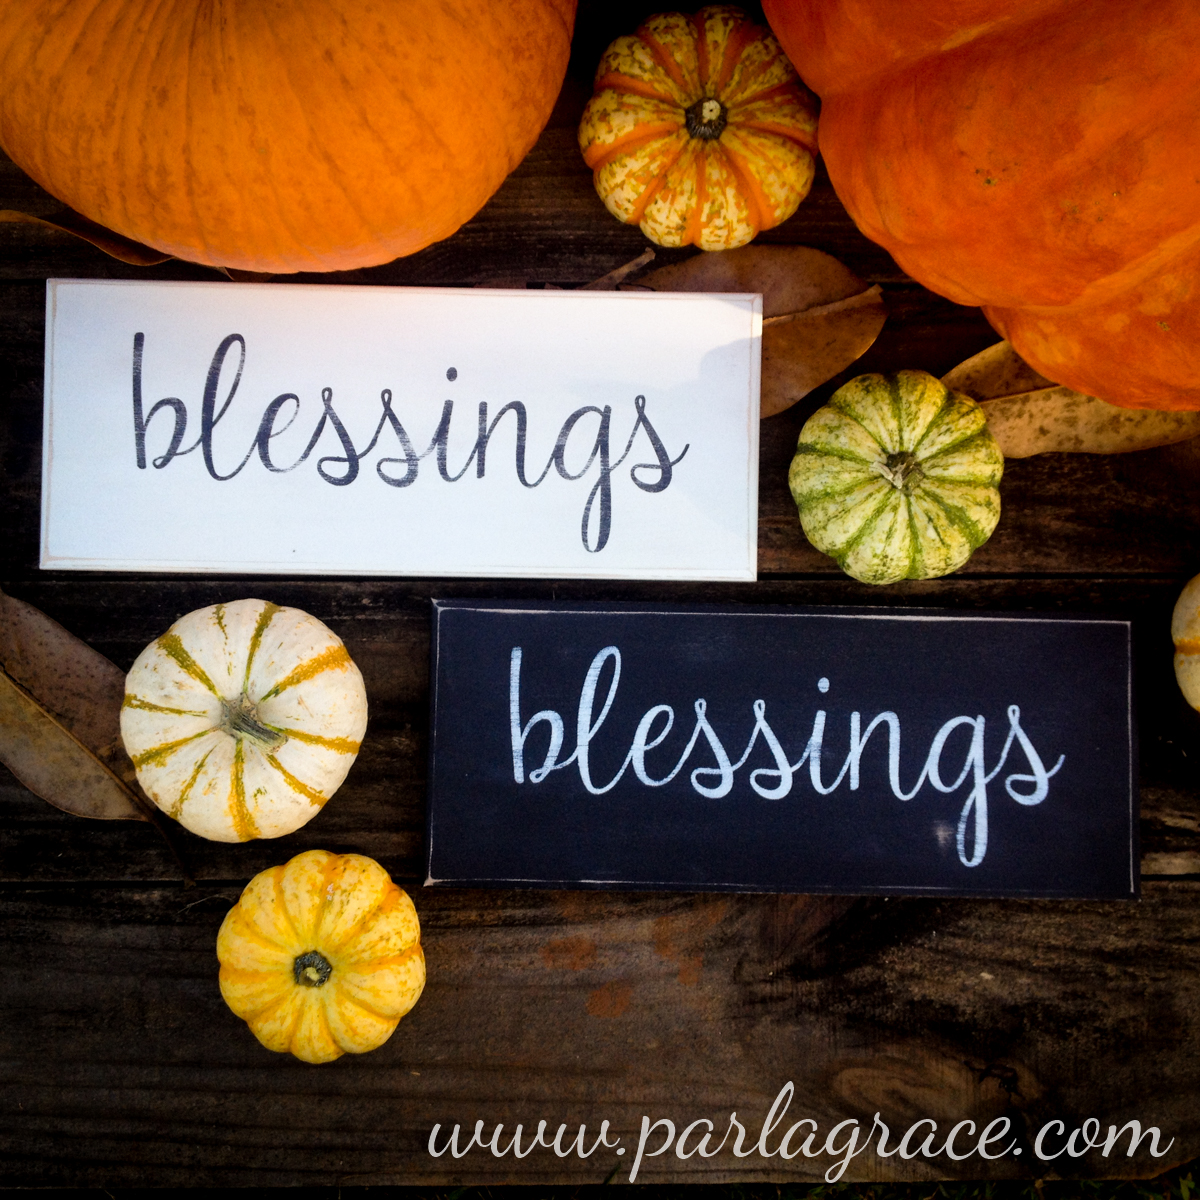
If you’re still not convinced about a “small camera,” here are some pictures that I took for my sister’s business–using my iPhone. These, I did edit a little. However, two important elements in these pictures are: 1) Good lighting (it was midday), 2) Cute props.

What kind of camera do you use? 
If you have a small camera, what are some tips you’d add here?

Posing Problems | Photography

When I started to seriously photograph people, I got on Pinterest (since then, I have found its usefulness for writers as well). There are tons of cute posing ideas on Pinterest! But I quickly found two problems with it: 1) I am not good at replicating a shot (not do I want to mimic someone else), 2) Not all subjects pose like Pinterest pins.
I discovered both of these points when experimenting with my sister. I loved some cute hand-poses. It did not take long to see that those poses just did not look like my sister’s normal self. It was forced. Unnatural. So then we did some things with her hands that she always does and you know what? Those pictures captured her personality splendidly! “Read” your subject. Ask them if a pose feels comfortable. Get them to pose themselves–“Just sit next to the wall”–and see how they naturally set themselves. You may need to tweak their pose a little, but try to capture their pictures–not shaping them to a Pinterest idea mold.

 From my Camera Bag:
(or my card ;))
Here are the pictures of my sister that I ended up taking.


Are you on Pinterest? Connect with me here.
Please comment and leave your Pinterest name–I don’t follow back everyone who follows me unless I know them. 😉

Improving Your Photography

We’ve all heard it: “Practice makes perfect.” But it’s easier to quote this than to actually do it.
Some aspiring photographers complain because all they have is a “cat or dog” as their subject. Whether you have subjects ready at hand or stationary objects, you can still practice and accomplish much.
1) Know your camera
I’ll confess: it still shocks me how many people buy a DSLR, brag about a fancy camera, but have no clue how to use it. Read your camera’s manual (sorry Nikons, I’ve heard that their manual is hard to understand). Play with your settings (you can always revert back to factory settings, so you’re not going to mess something up). Take it out and use it.
What you practice willhelp you. I’m not a nature photographer, but I learned a lot about my camera by shooting nature when people weren’t available. The first time I really understood about aperture was when I randomized my f-stop. I noticed that the smaller the number (f-2.8), the blurrier the background. The larger the number (f-14), the clearer the background. Later, I read about this in a book…but I first learned it by playing with my camera settings.
Some pictures from when I really learned the value of the f-stop (these are completely unedited):


2) Be a “Nobody” Photographer
By this, I mean to be willing to use your camera at small events, when you’re not paid, when you don’t necessarily have to. This will help you in two areas: you will gain confidence, and you will learn the beauty of “capturing the moment.”

I took hundreds of portraits of my sisters “just for fun.” Not only did this actually provide me business (“I saw that picture you took…would you do our family’s pictures?”), it gave me great practice. Another example, I side-shot at least five weddings “just for fun.” For most of these I was in the audience; for one of them, I was the big “third photographer.” But tell you what, I was super glad I did that when I was asked to be solo photographerat a wedding

What days will you be working on photography this week?
What tips would you add to this?

Artistic Eye | Photography

I never thought of myself artistic when it came to photography. I didn’t have that “natural eye”–at least not when I saw others’ photographs. I would look at a tree and say, “Okay…so it’s a tree…” My brother would look at a tree, take one picture (ONE!) and I would be dumbfounded. It was a piece of art.
Fast forward a few years. I did photography as a hobby, then people actually began to hire me. And one of the things they mentioned? I had a good “eye.” (Wait. When did this happen?)
Maybe I did have it naturally, but I just needed to practice, practice, practice.
When I first started photography, using my brother’s digital camera, I would snap twenty pictures of the same object, with almost the same angle. Did that really give me much practice? Since I was using auto-focus, no it didn’t.
One photographer suggested experimenting with three different angles on a subject (keeping the subject in the same pose). I didn’t know this when I was practicing, but on my own, I began narrowing my picture-taking to only 2-3 shots of the same angle. You know what? It made a difference! As I practiced, I learned what worked and what didn’t–when to take the picture and when to avoid pressing that button.
Here are a couple of angles from the same subject. Taken in St. Charles, MO, in 2011.

Photographers – What tips have helped your “photography eye?”

Photographers-in-training – What do you plan on practicing this week with photography?

If you have a photography blog, comment with the link below and I’ll visit! 🙂