

Abide With Me

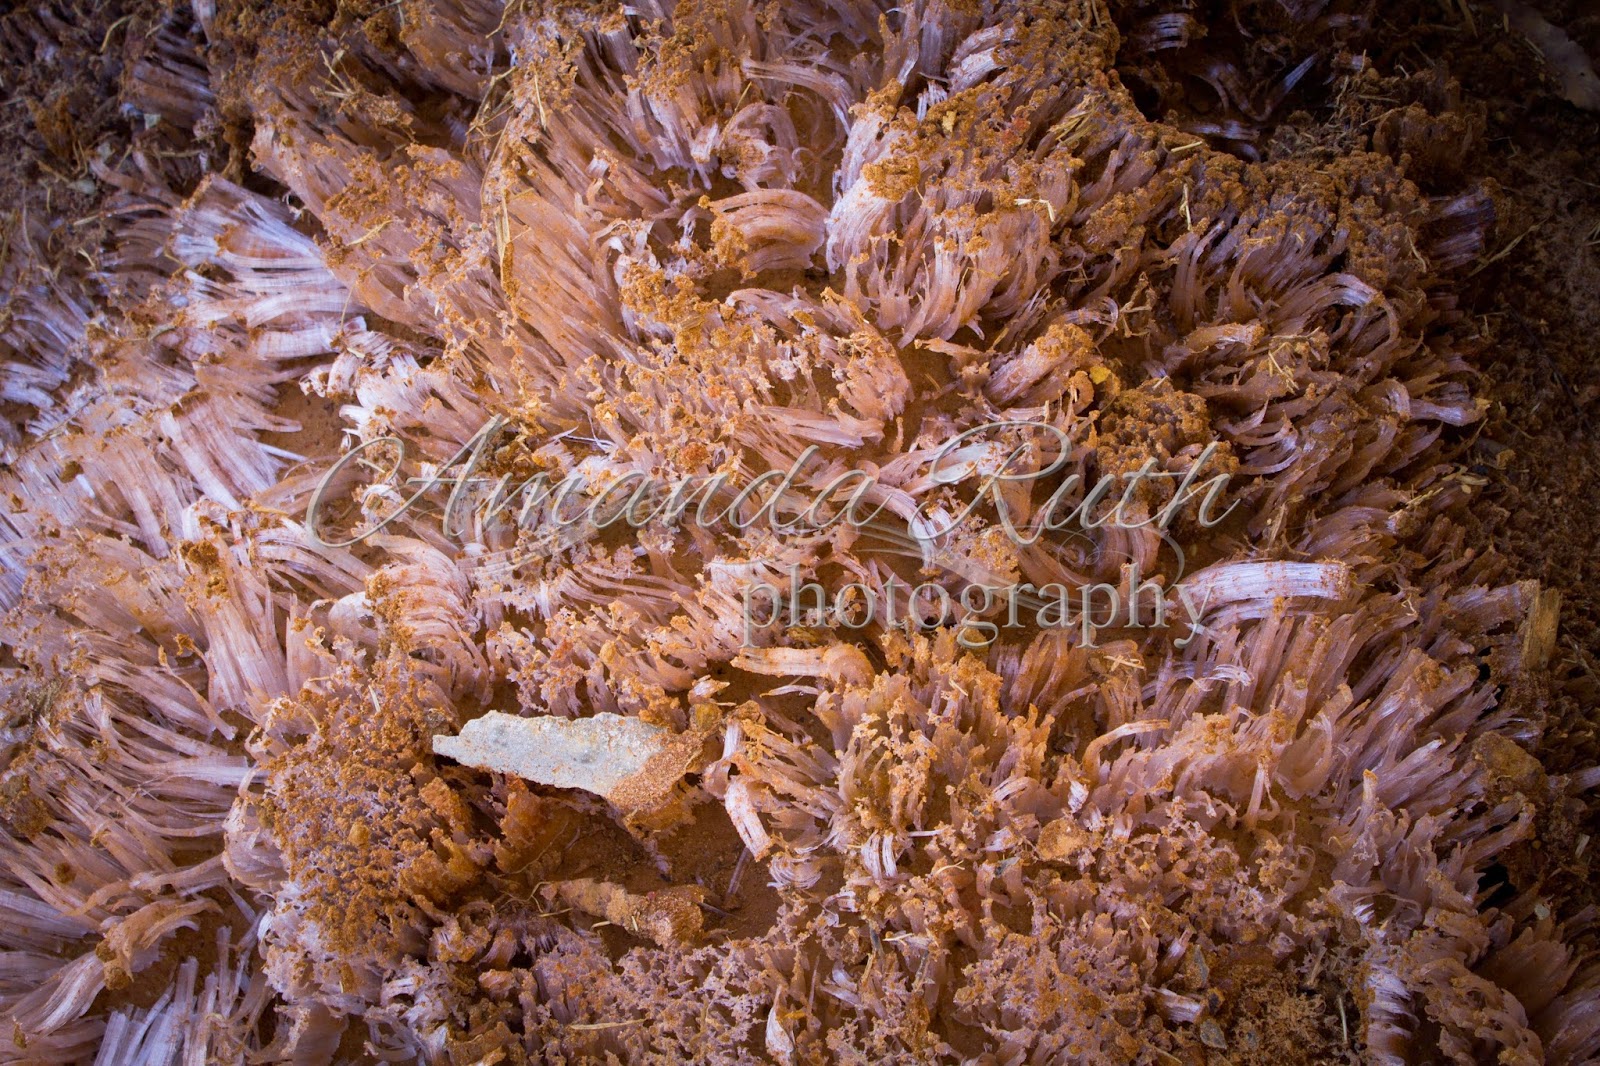
I think the two most popular guesses were fungus and some type of meat. 🙂 Perhaps this picture will help clarify some details? 🙂

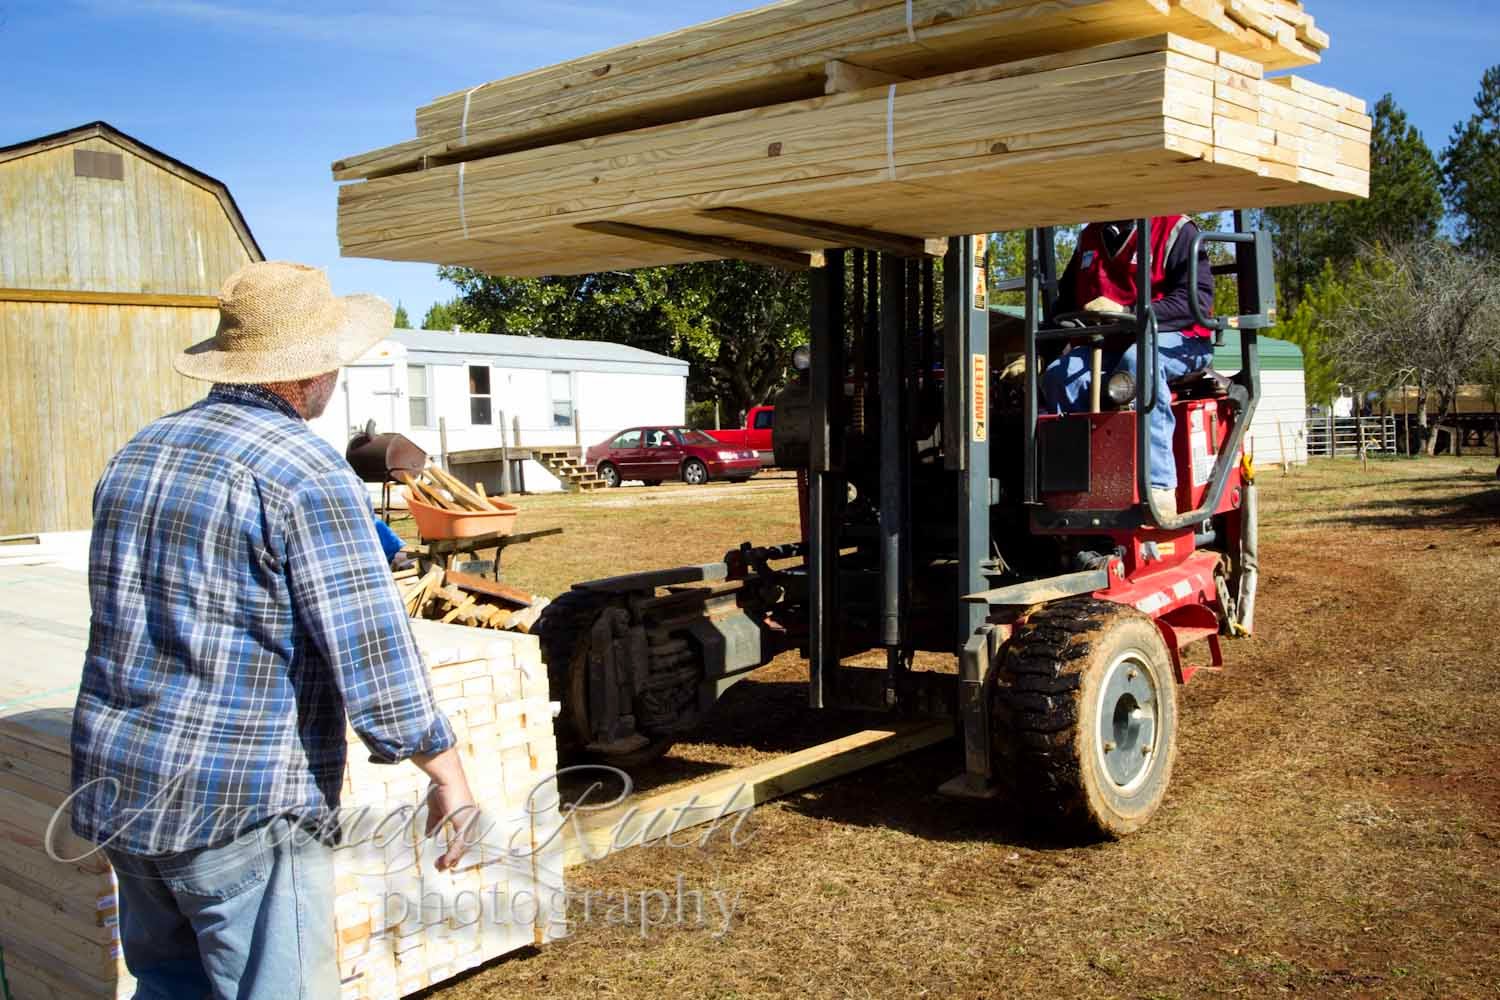
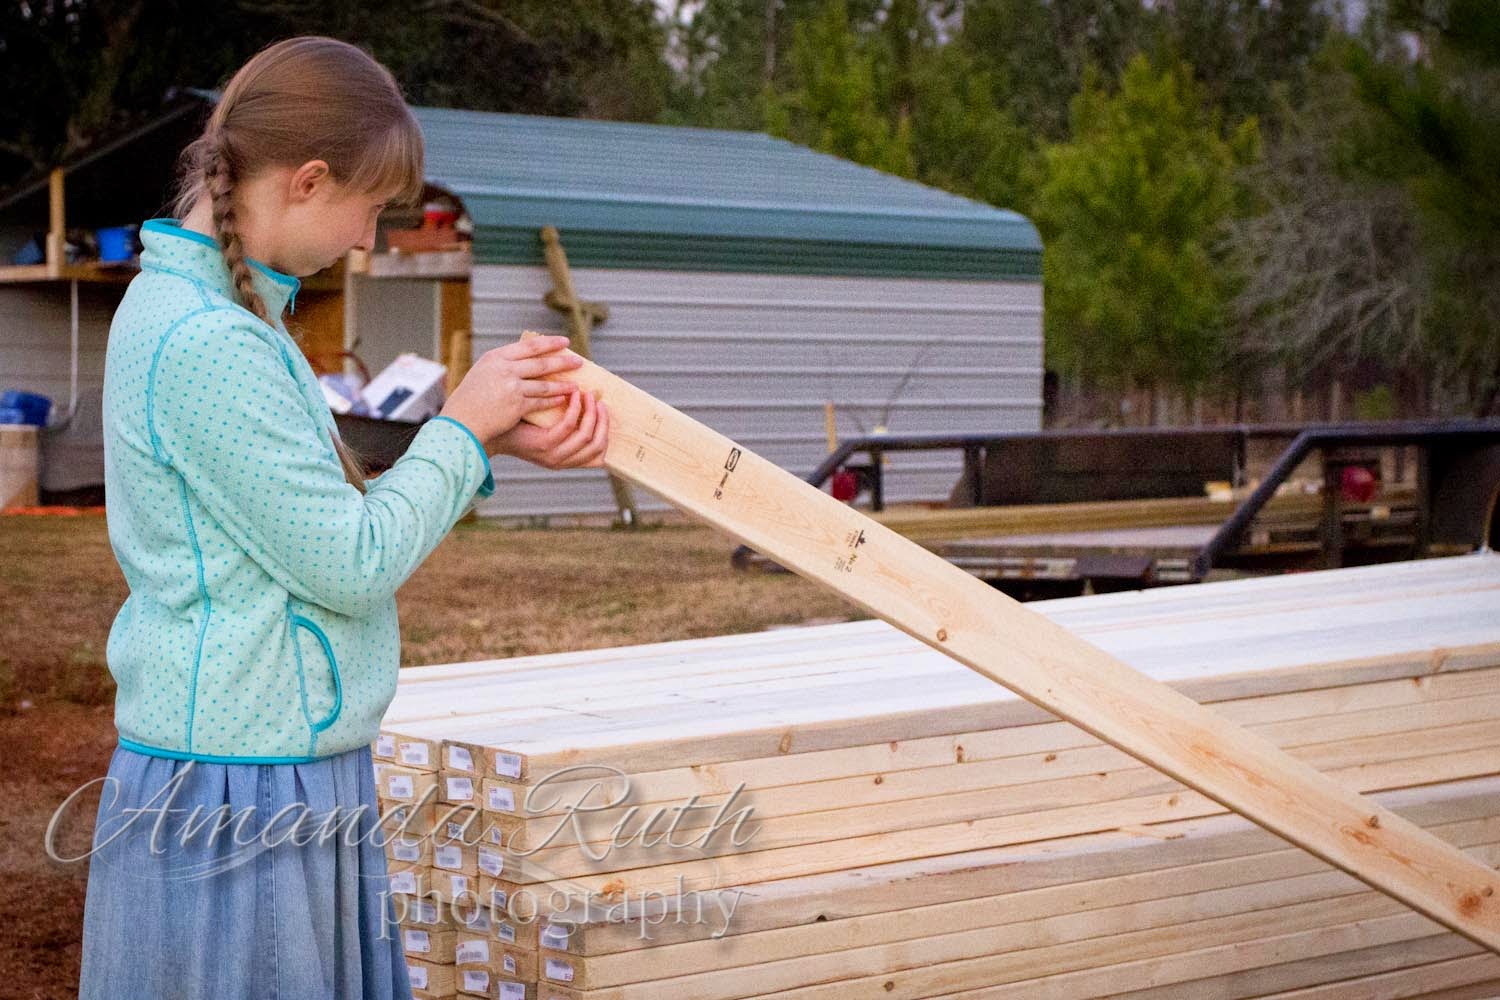
It was probably 9:30 in the morning when I went outside to cut a few boards for Dad. After finding the tools I needed, I stepped out the side of the house.
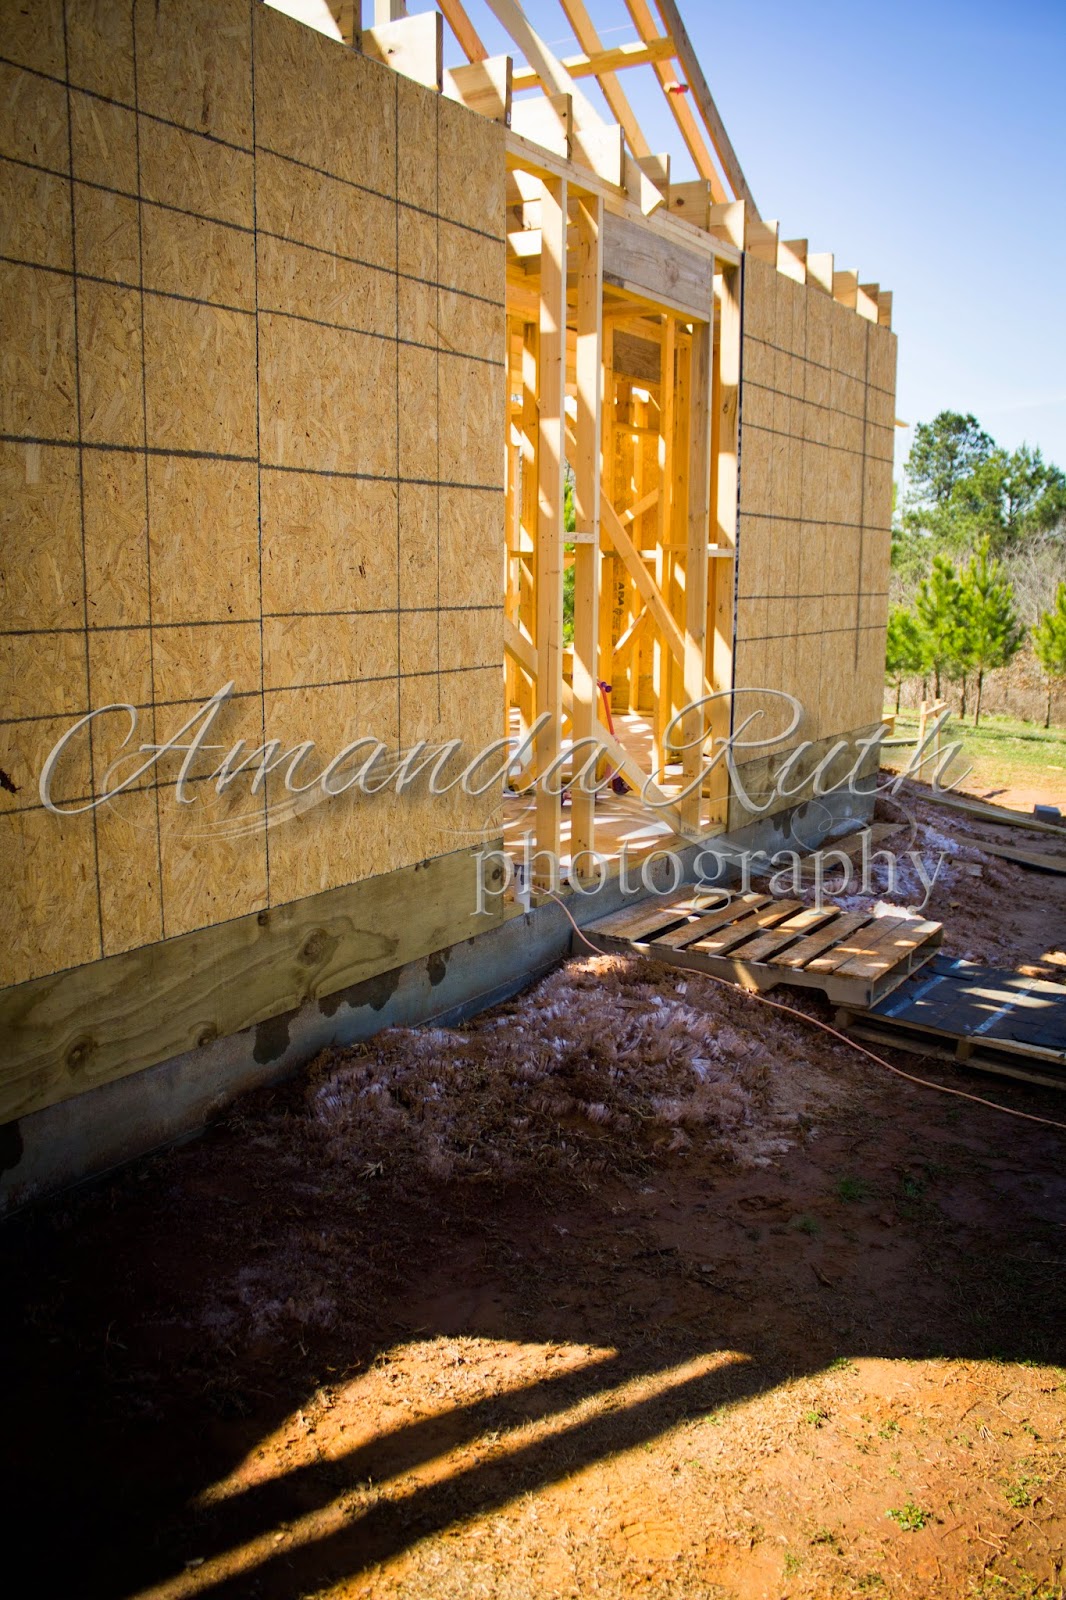
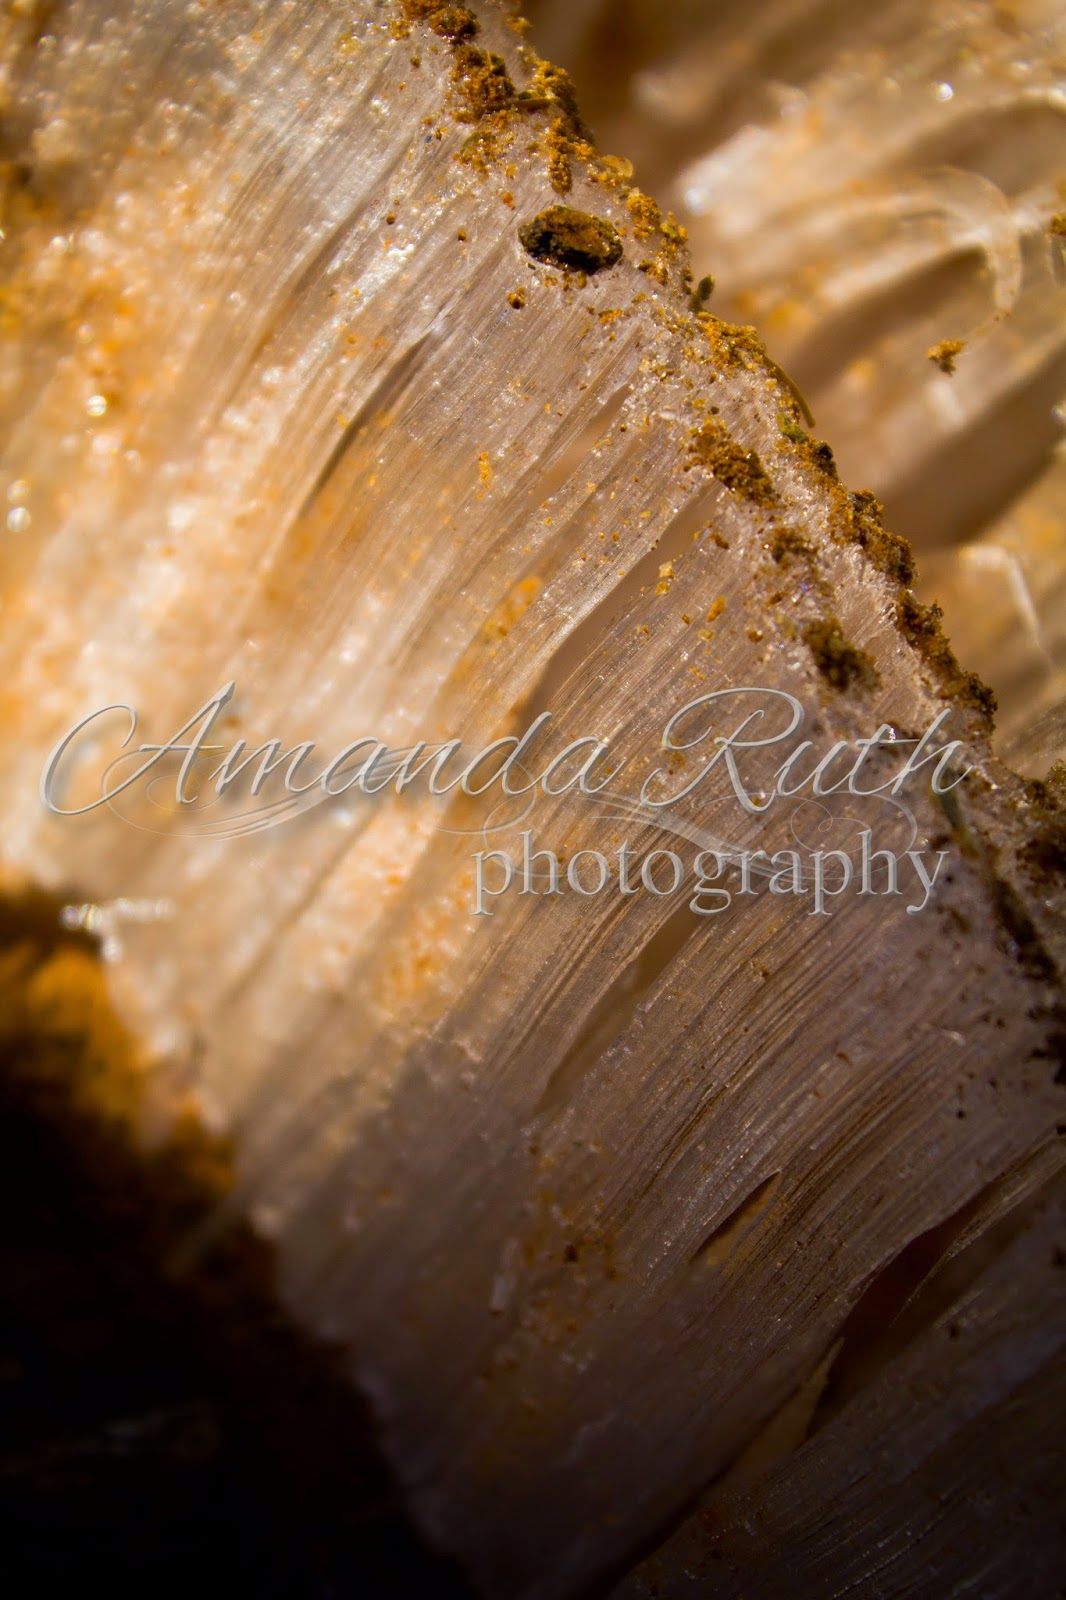
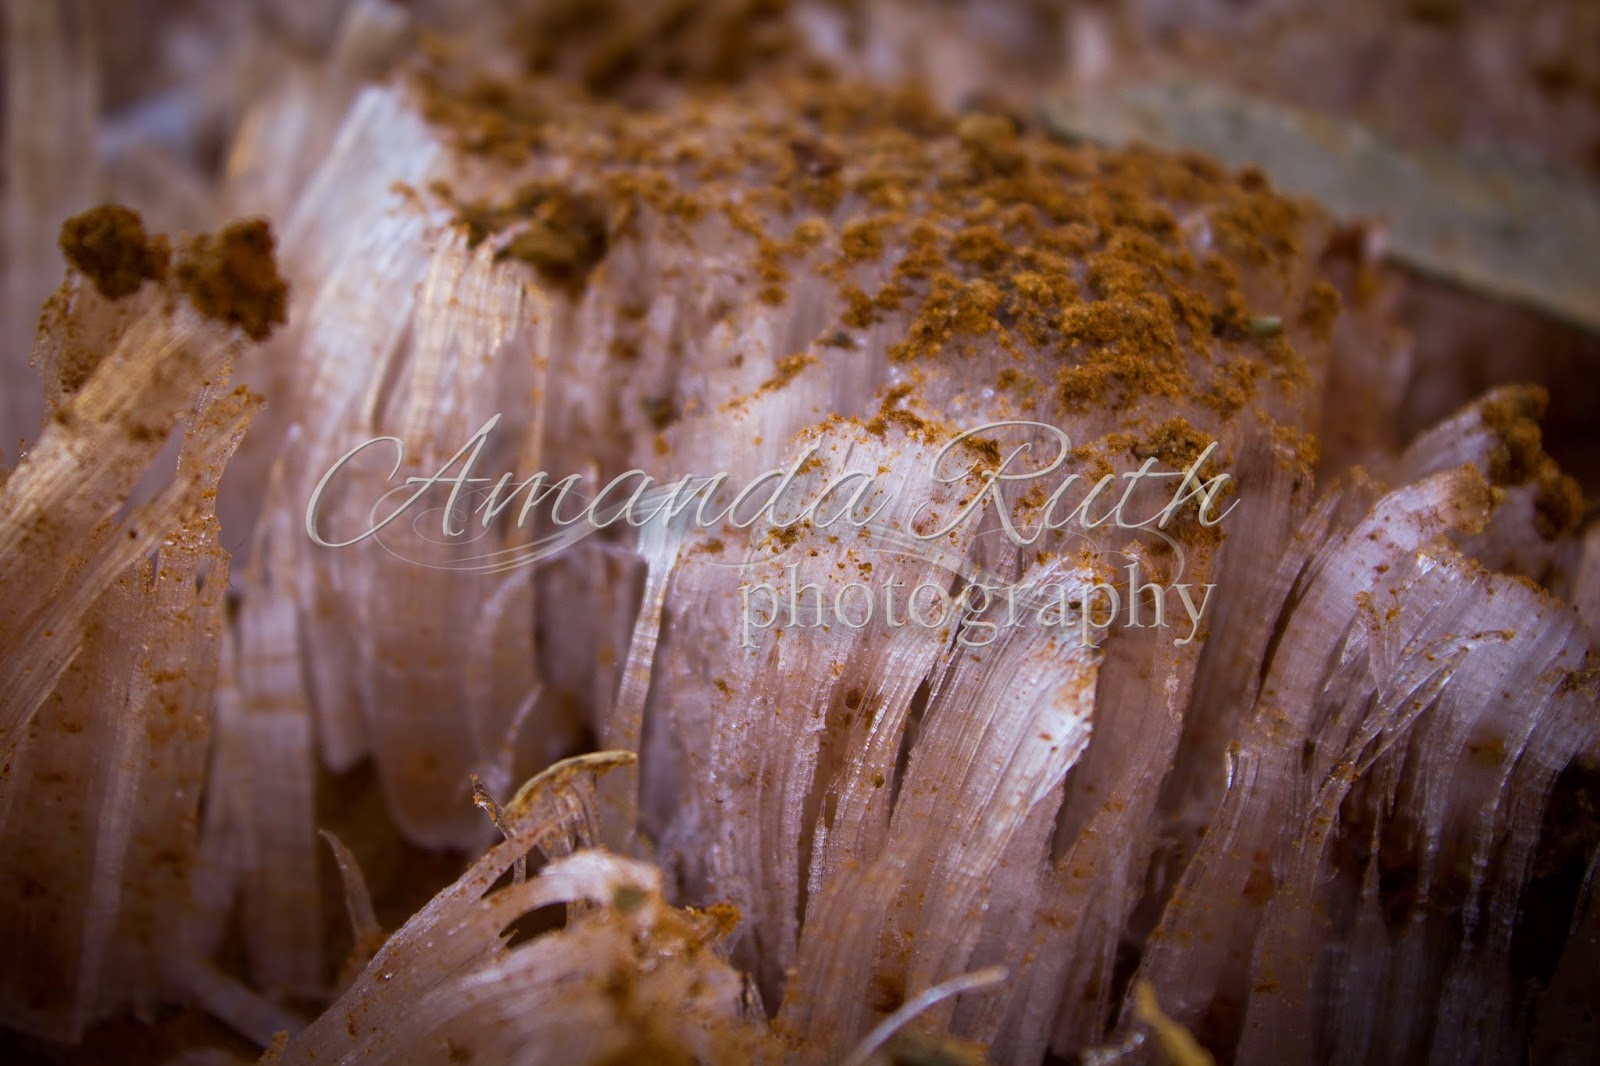
Shoots of ice popped up from the ground – about three inches high.

It was fascinating to observe this close-up!
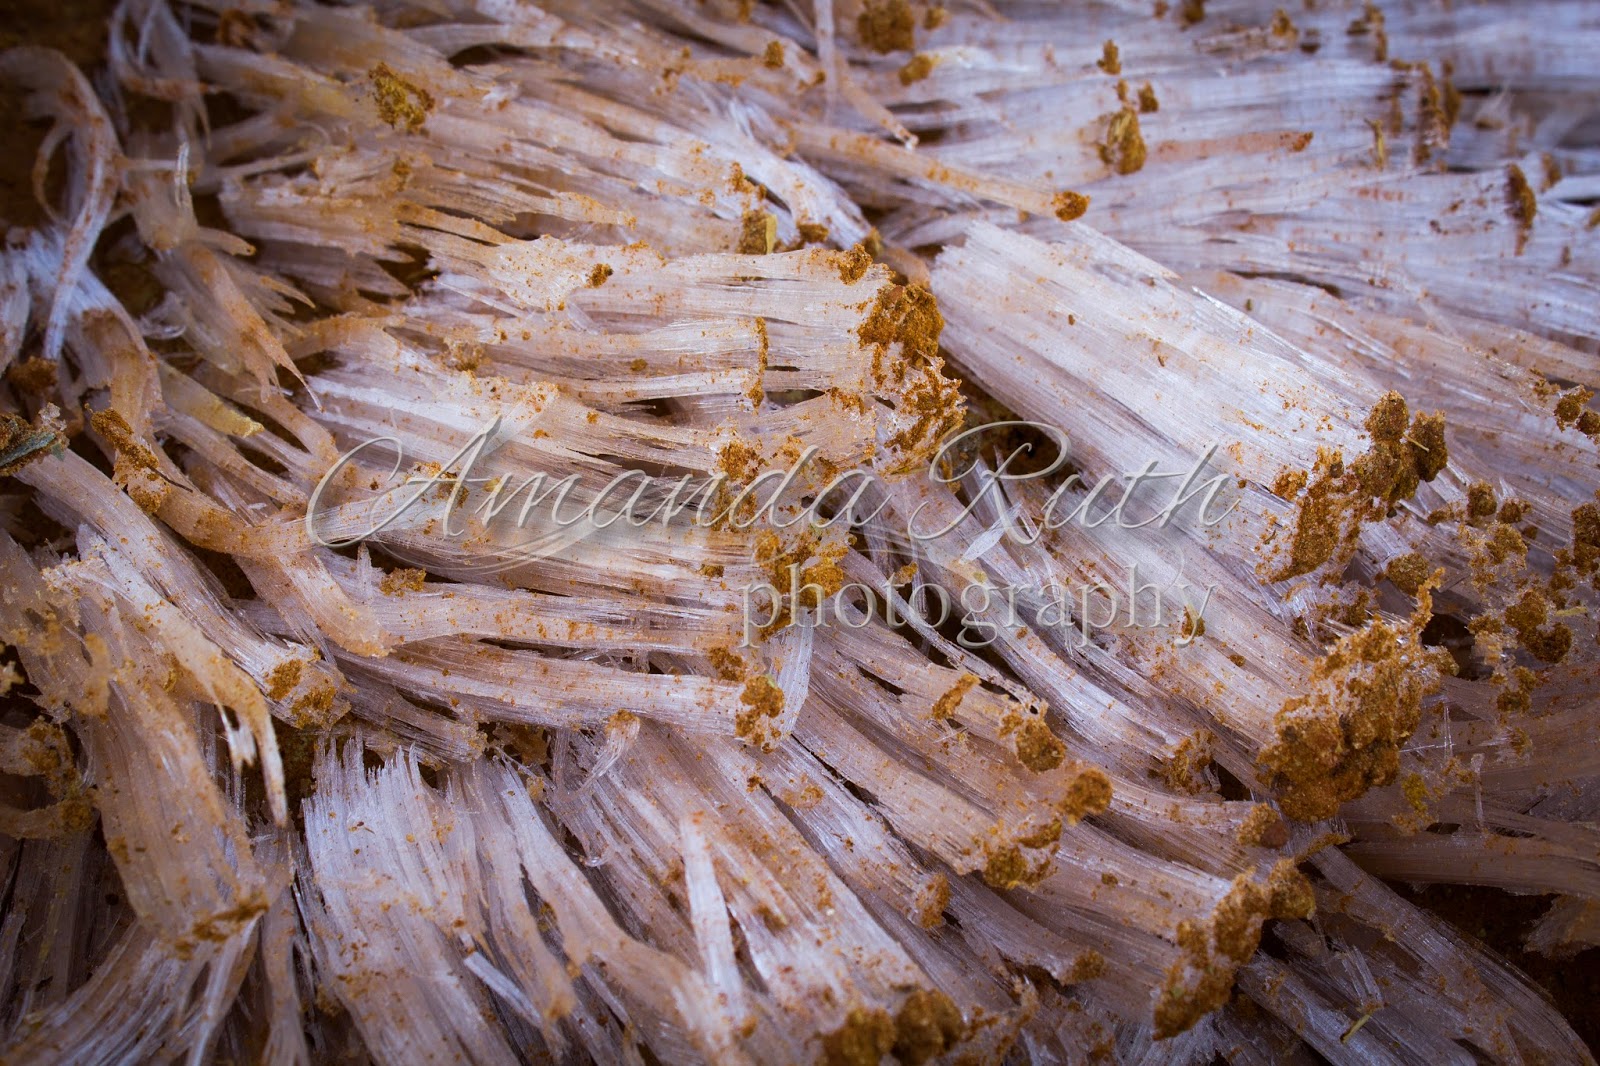
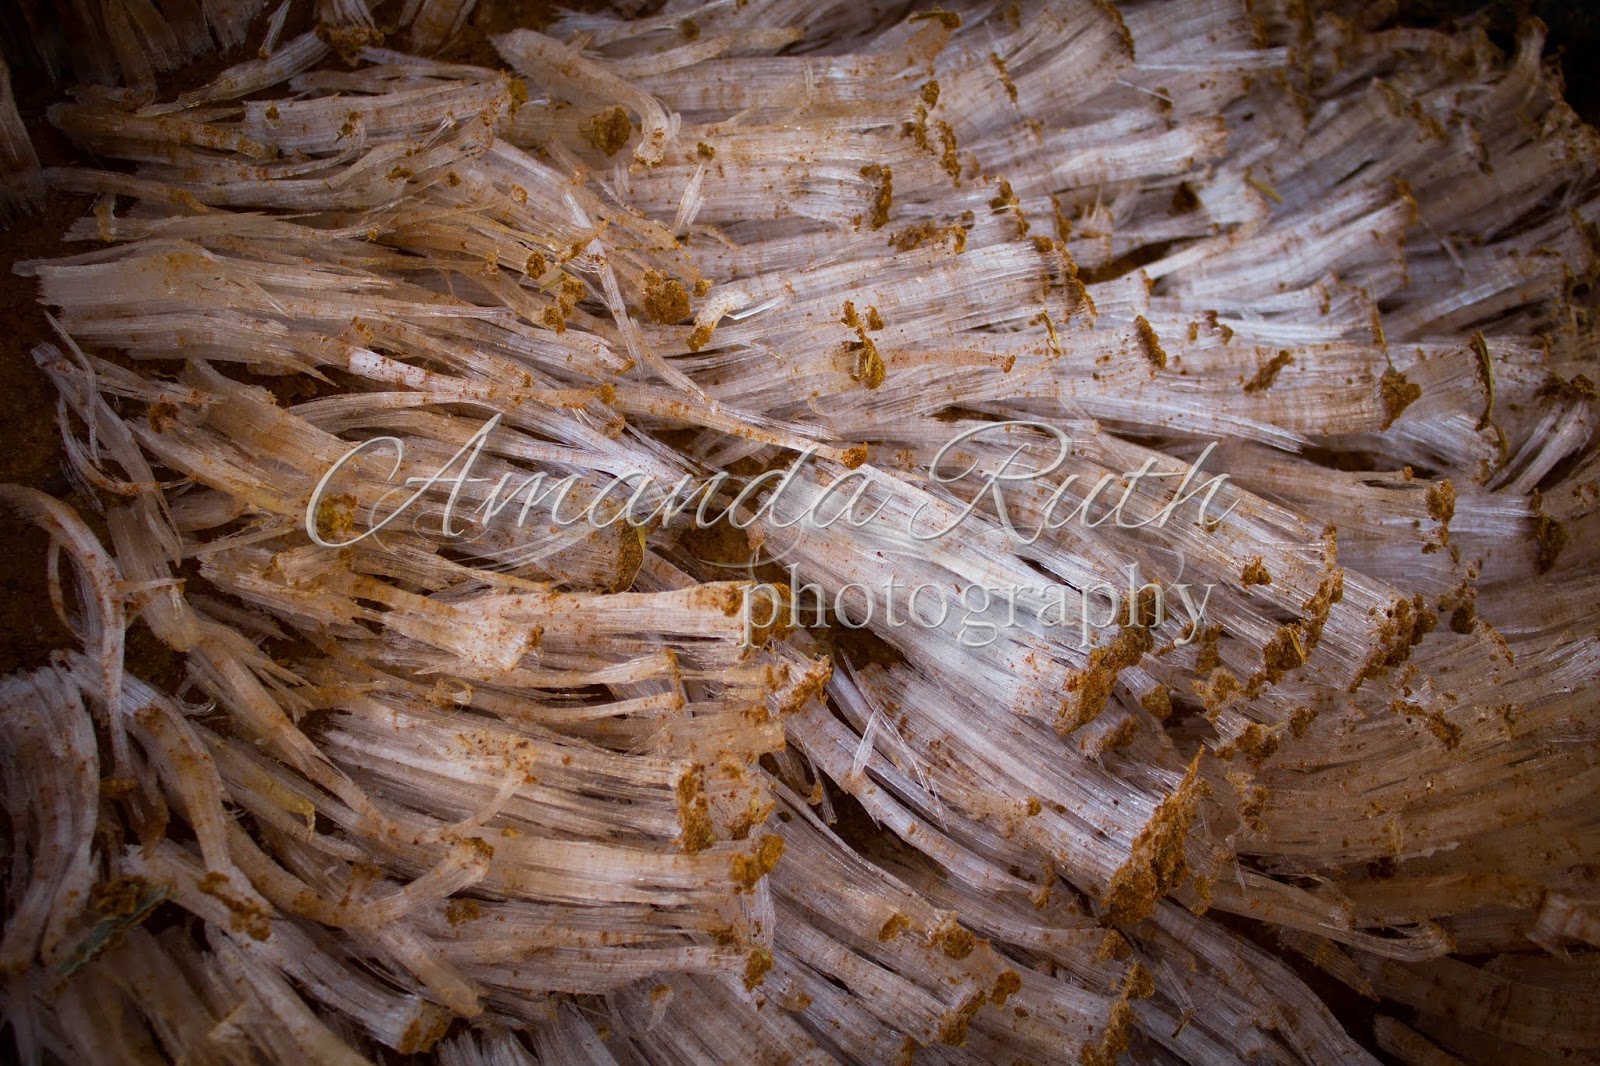

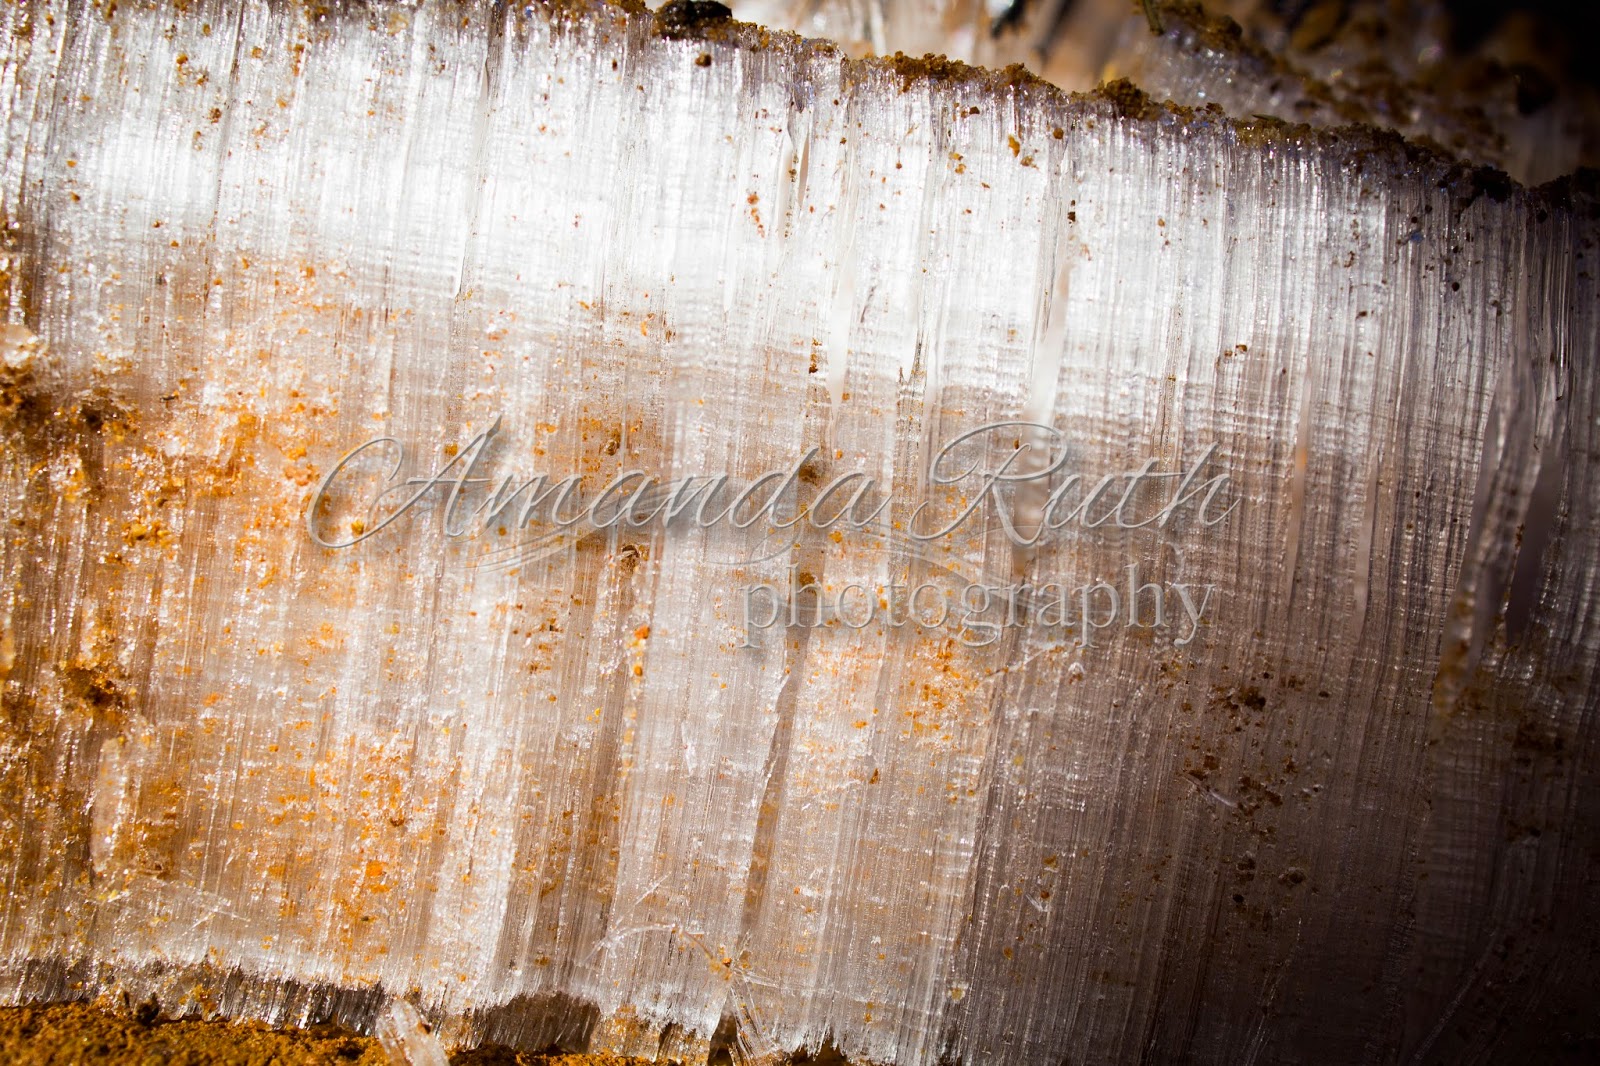
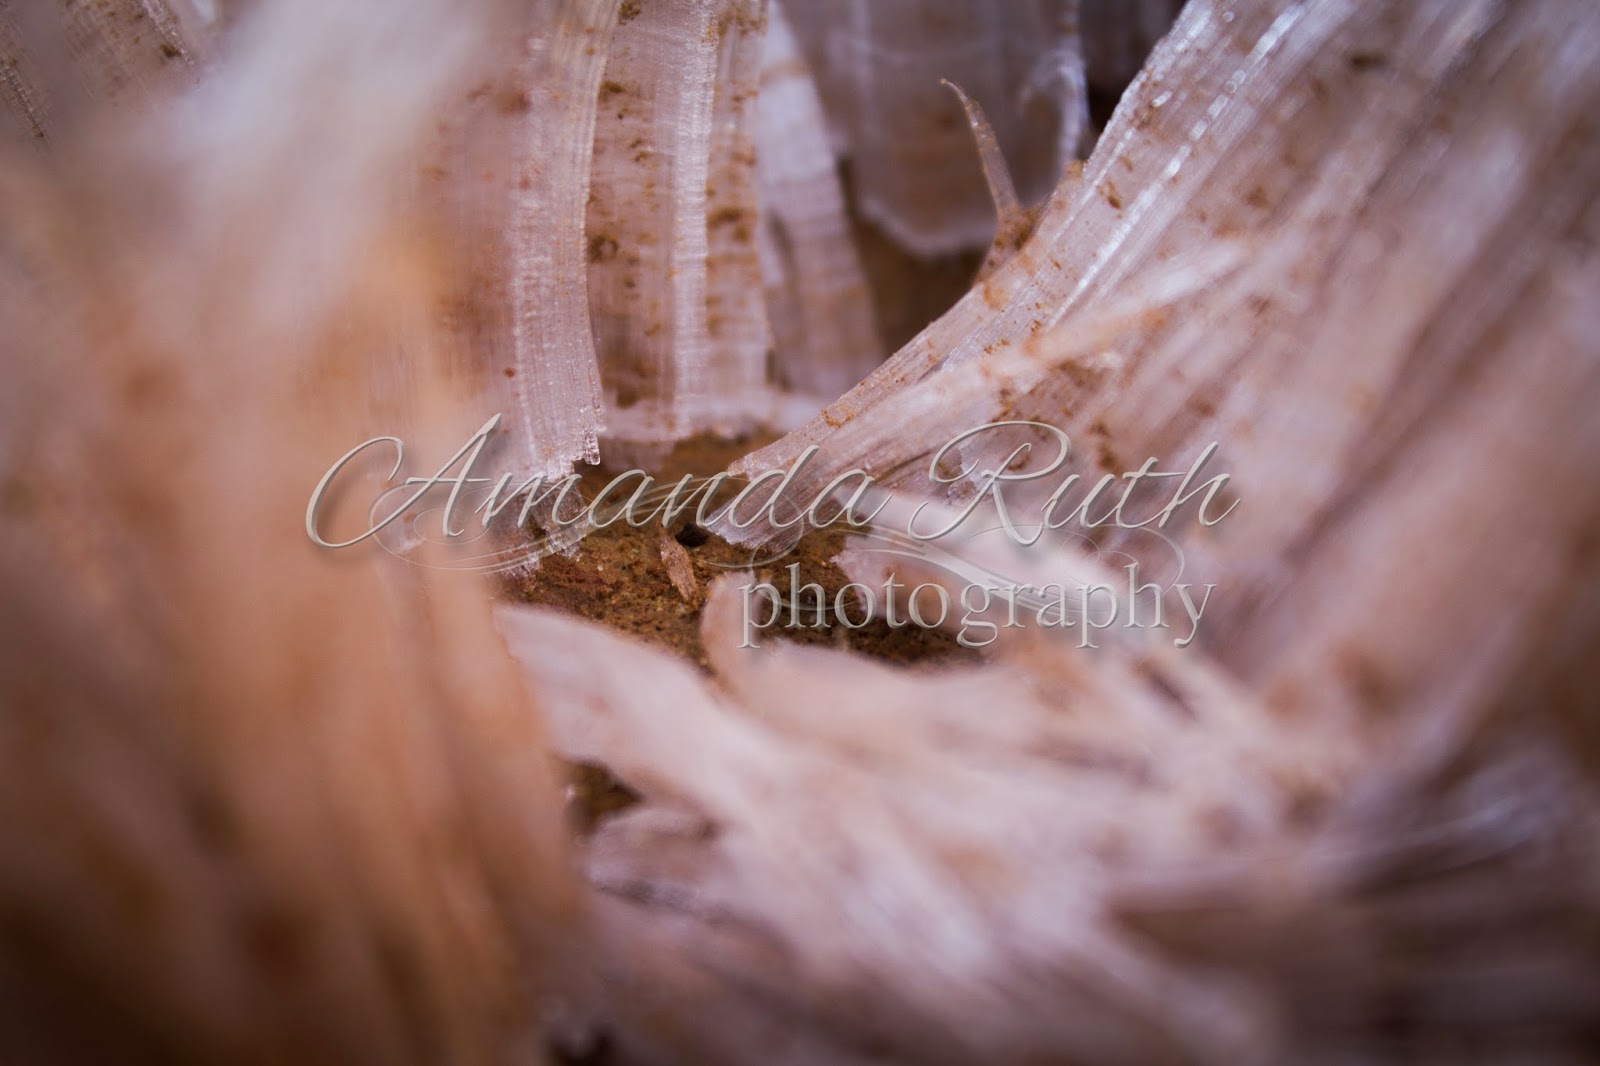
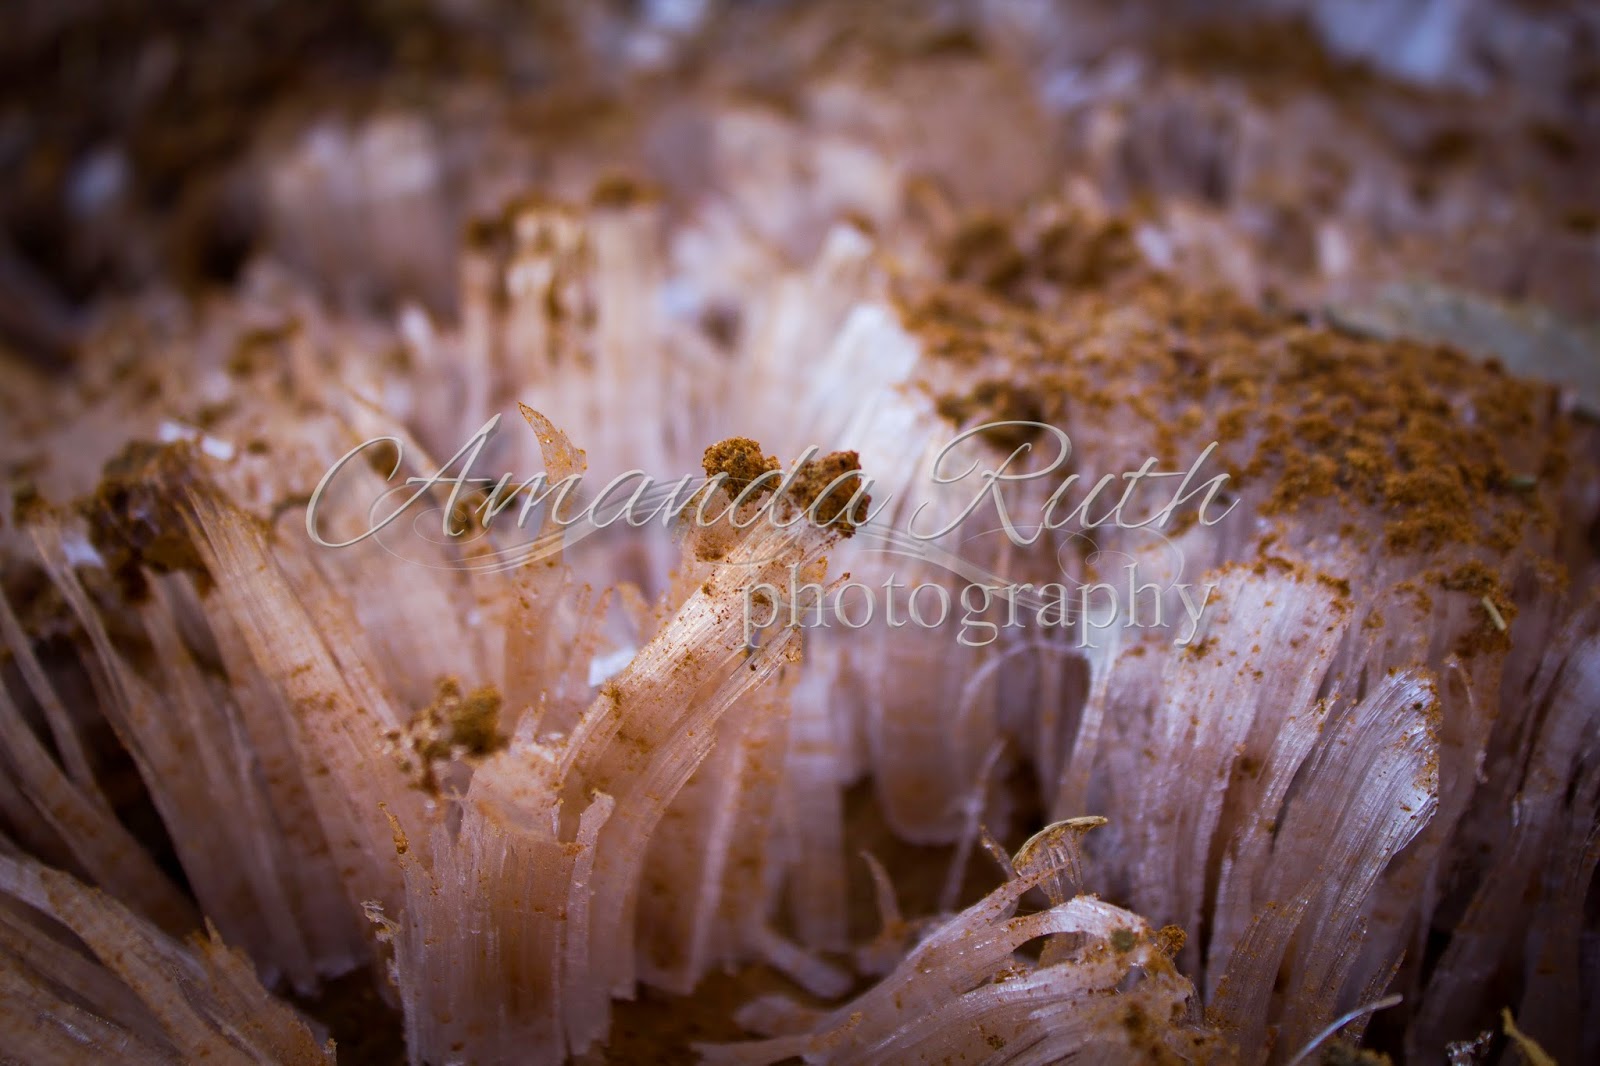
The ice was light and easily broke away from the mud. It appears that the water separated from the mud and froze, creating these amazing needle-like points of ice.

Though we had seen this type of ice on our new volley-ball pad, it was nothing like that morning!

Even in small ways, God’s creation is amazing to behold!
Here is one look that I recently tried in my editing:

I showed it to a friend and she was interested in knowing how it was done. This is SO easy!
For this tutorial, I’m using Photoshop Elements 6.0 (due to some computer issues, I’m back down to an older version for now).
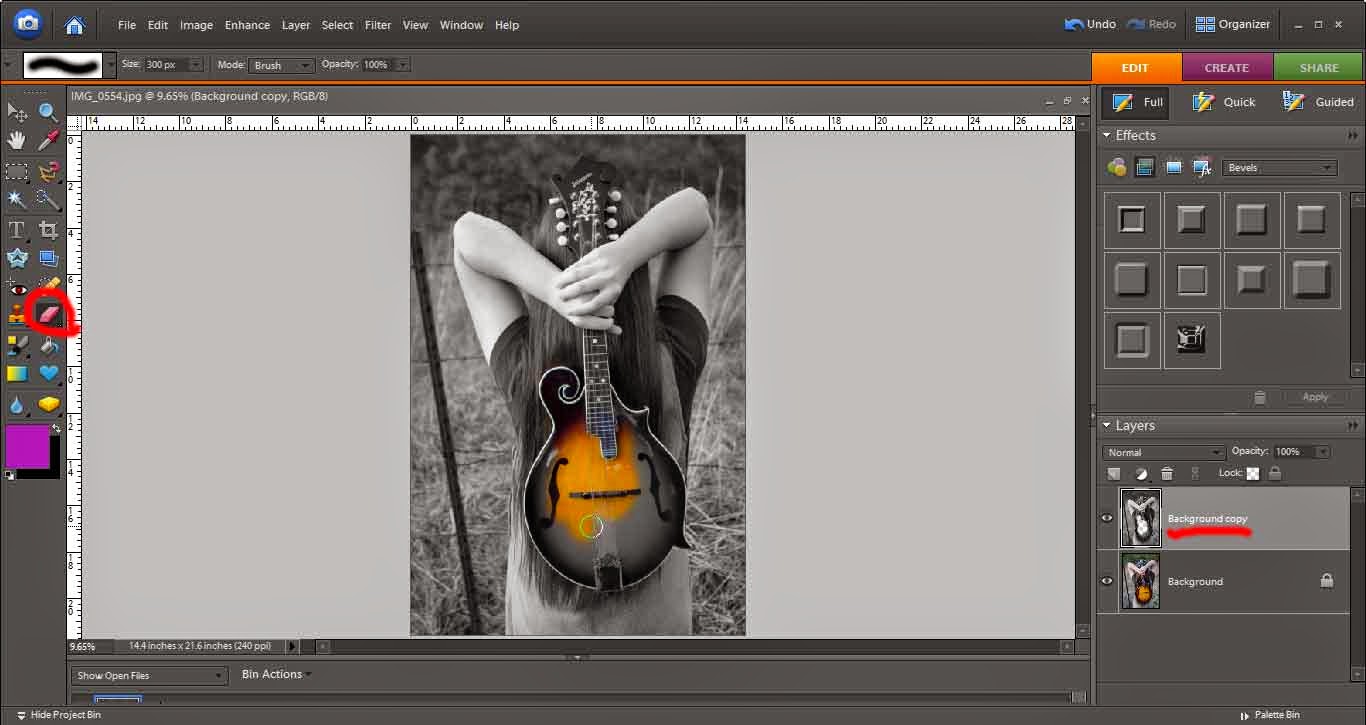
First, open your image in Photoshop.

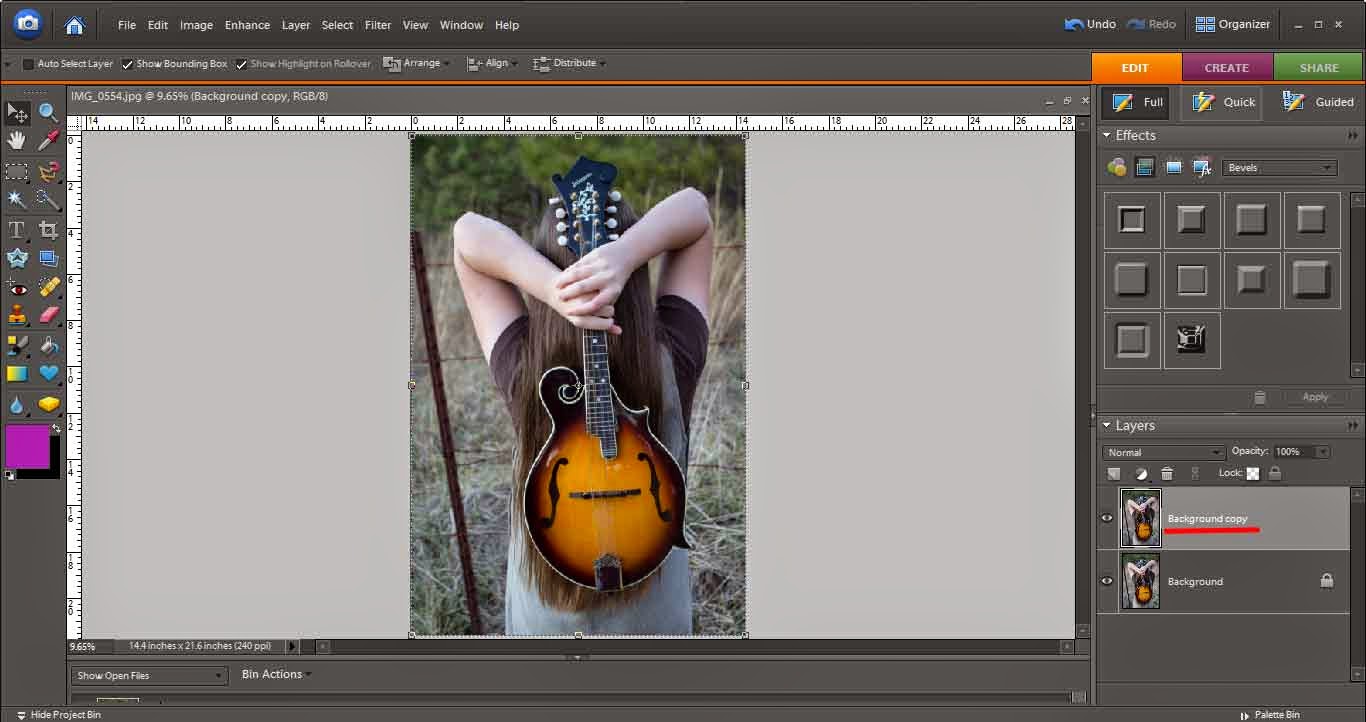
Duplicate the layer.
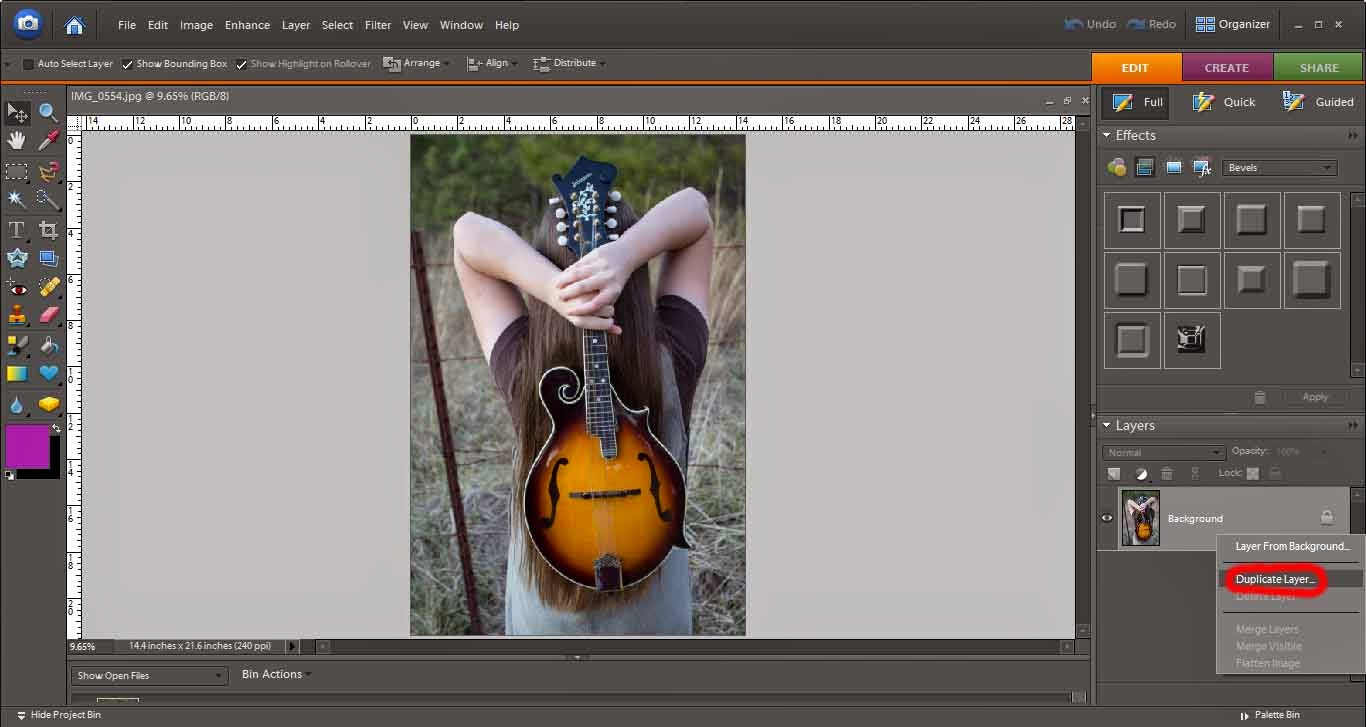
If you’d like, name your new layer.

Be sure your top layer is selected.
Then go to “Create.” Here, you want to lower the saturation to be none (under “Color”).
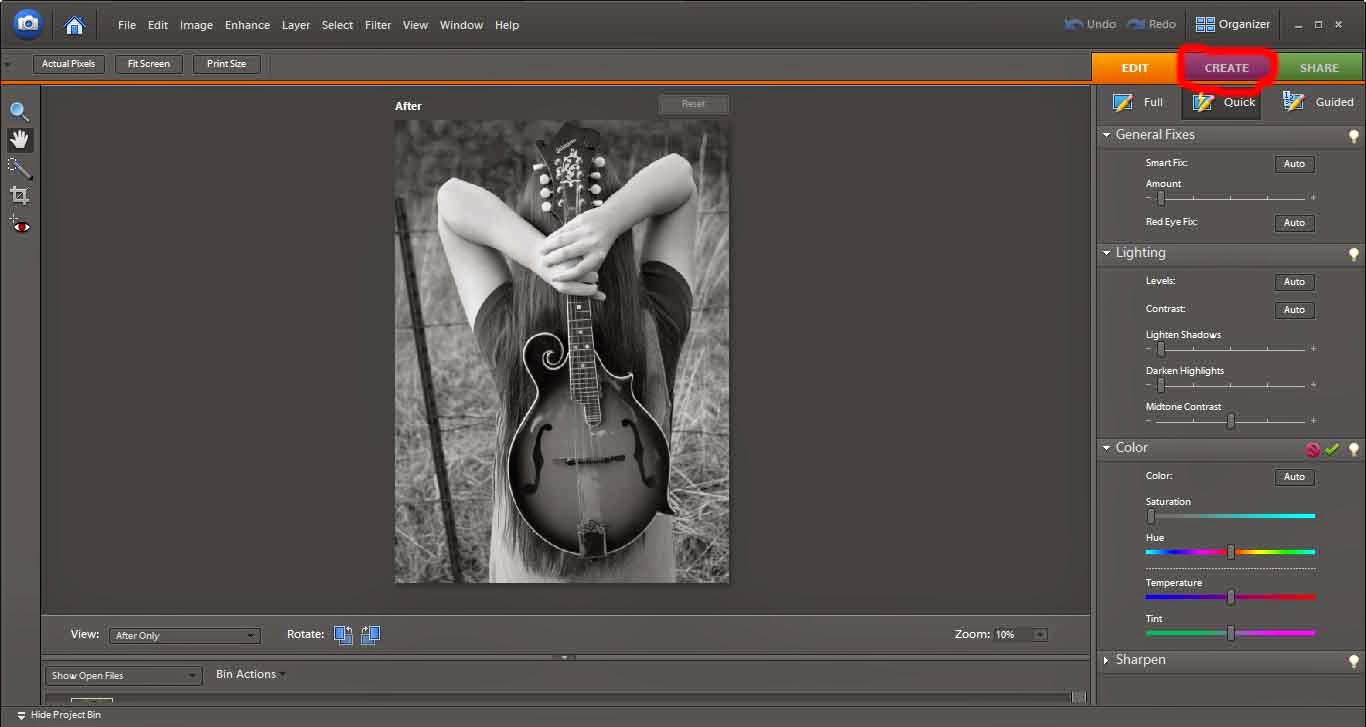
Go back to your main editing window. Select the eraser. Again, be sure you’re on the top layer (Black and White layer). Now, erase away! You are erasing away the black and white picture and the color picture underneath will show.
Told you it was easy!! 🙂
Next week, look for a couple of more pictures from this photoshoot. 🙂
I now have a website specifically designed for my photography.

I’ve not been posting photoshoots recently because, due to my dad’s request, we’ve been trying to figure out what works. Here we are at the return of photoshoots! There will be several fewer pictures – but enjoy nonetheless!


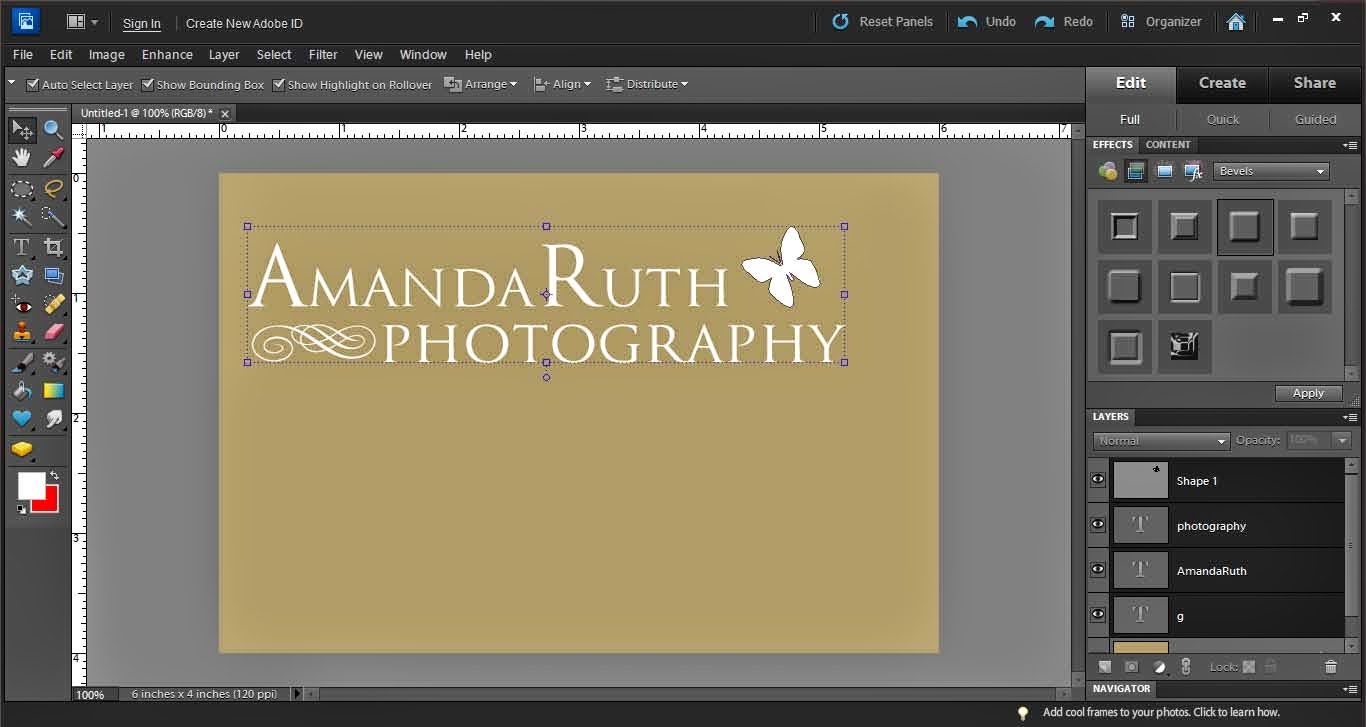
First, create a blank file (I did 4×6″).

Next, just for the ease of visuality, I colored the background.

Now it’s time for text! Find a text that you enjoy and that captures the genre of your photography.

If you like, add some extra little elements. I added a butterfly (with the elements shapes) and a swirl (using the text Nymphette) to create a fun, cute logo.

This will give you a few layers (see bottom right corner). Select all of your logo layers.
Right click and select “Merge Layers” (or press ctrl+E). This will pull all of your layers together so that you will not accidentally select only part of your logo.
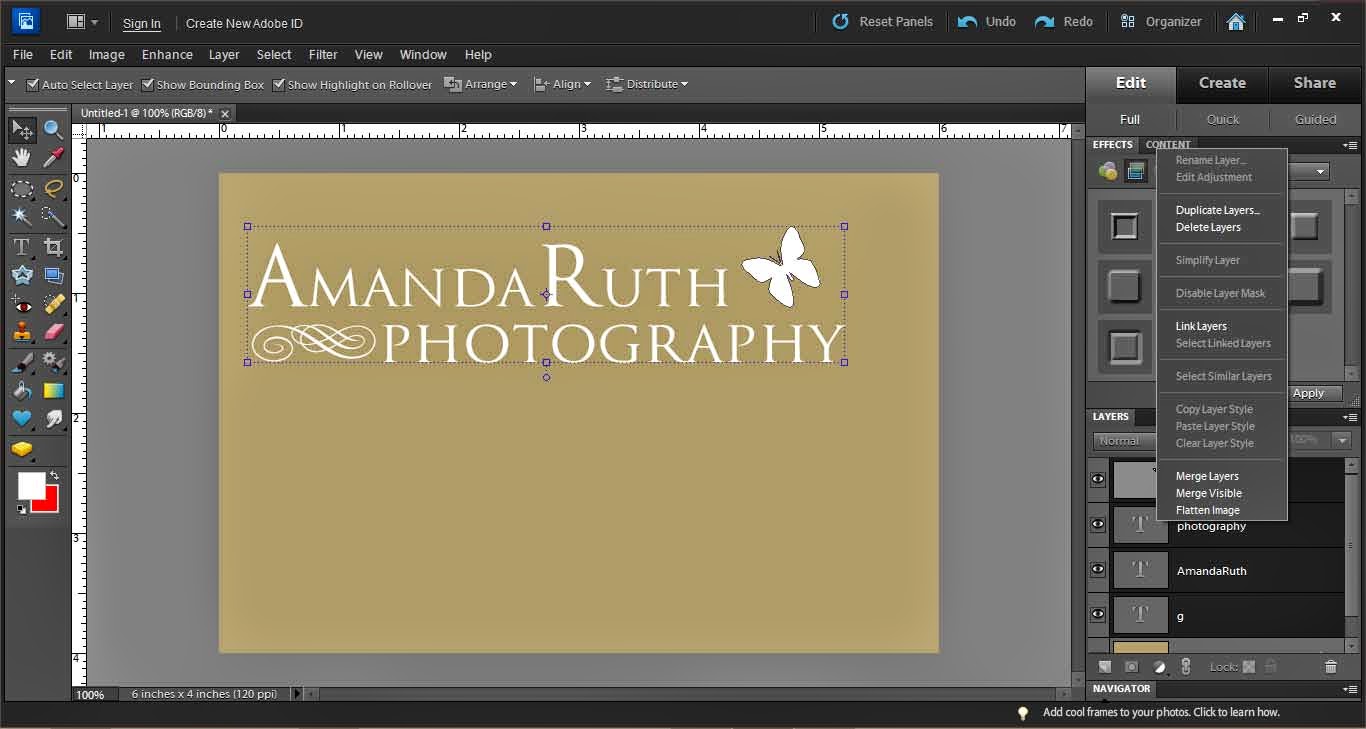
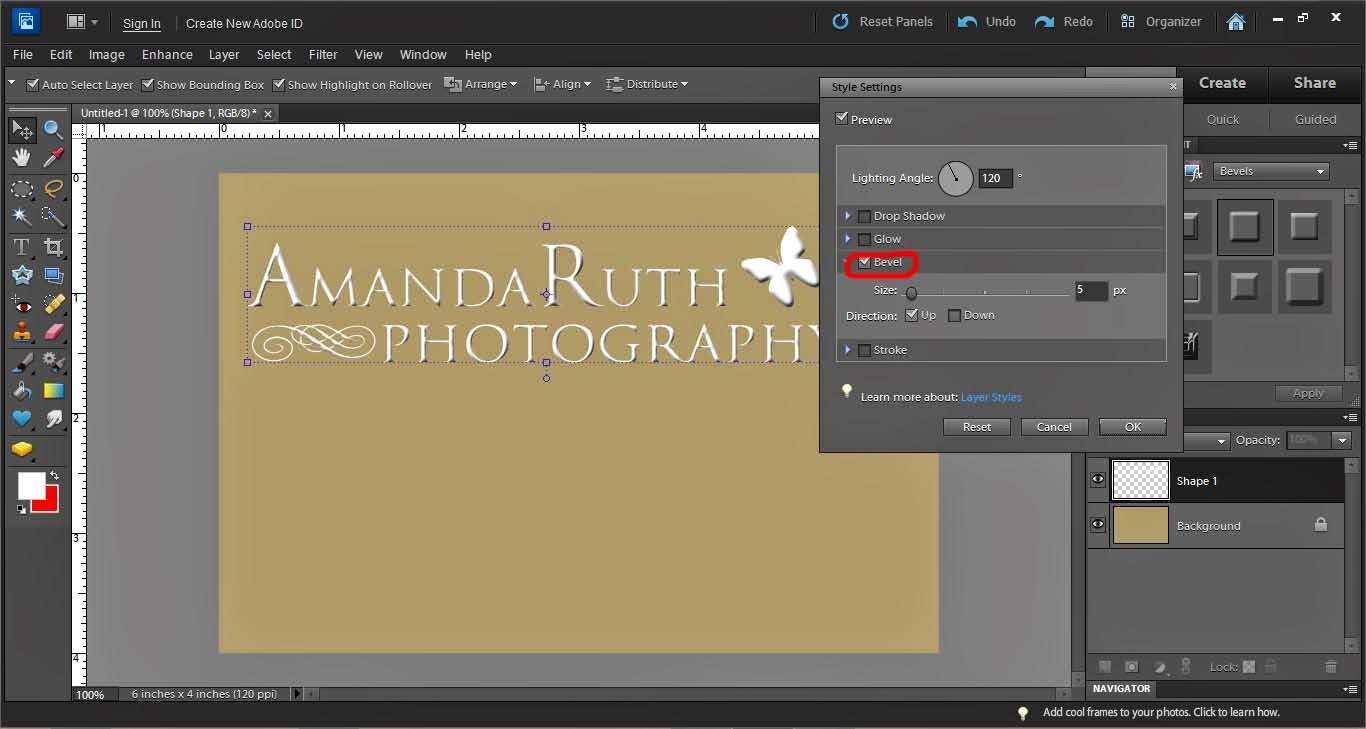
With your logo selected, use the move tool (on the left it is the top left option – image of the cursor and “plus”). Right click on top of your logo and select “Edit layer styles.”
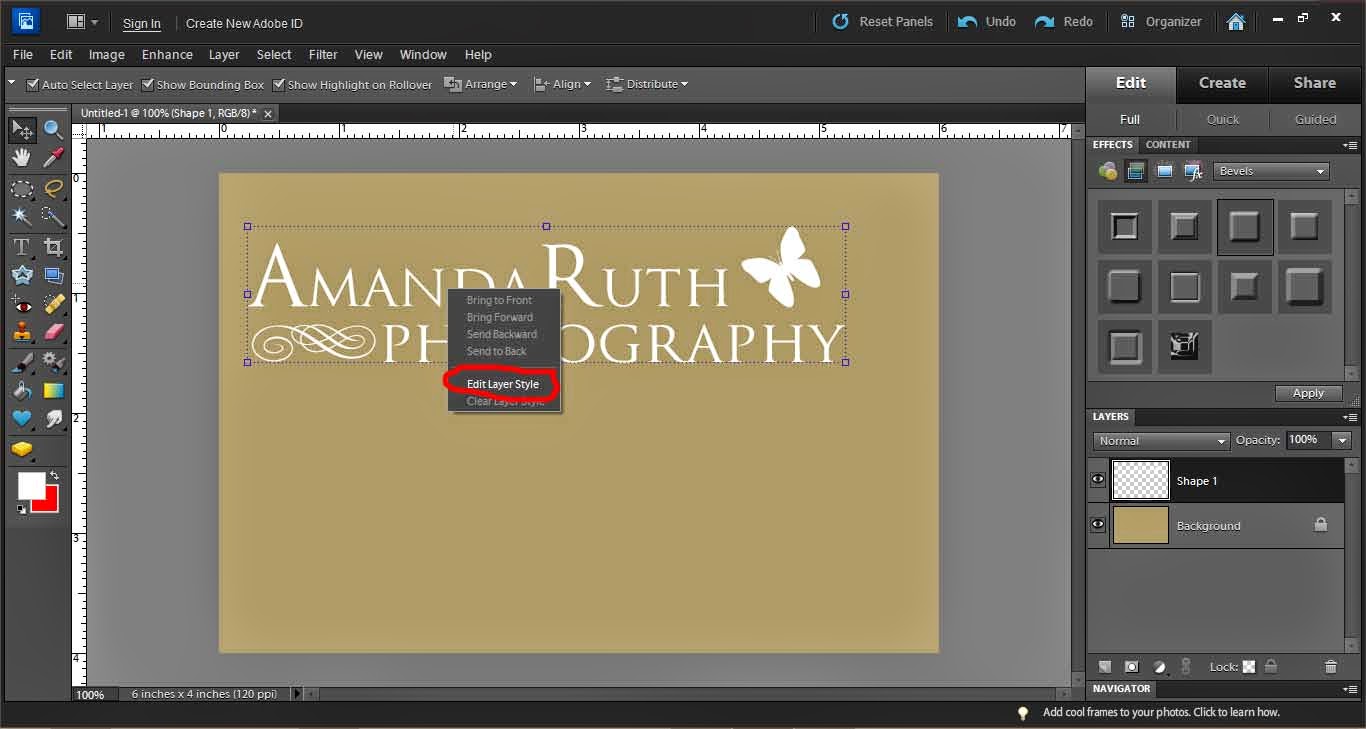
A new window will pop up.

Select “Bevel.” It automatically will give you a 5px bevel. I usually like this option so select “okay” when done.
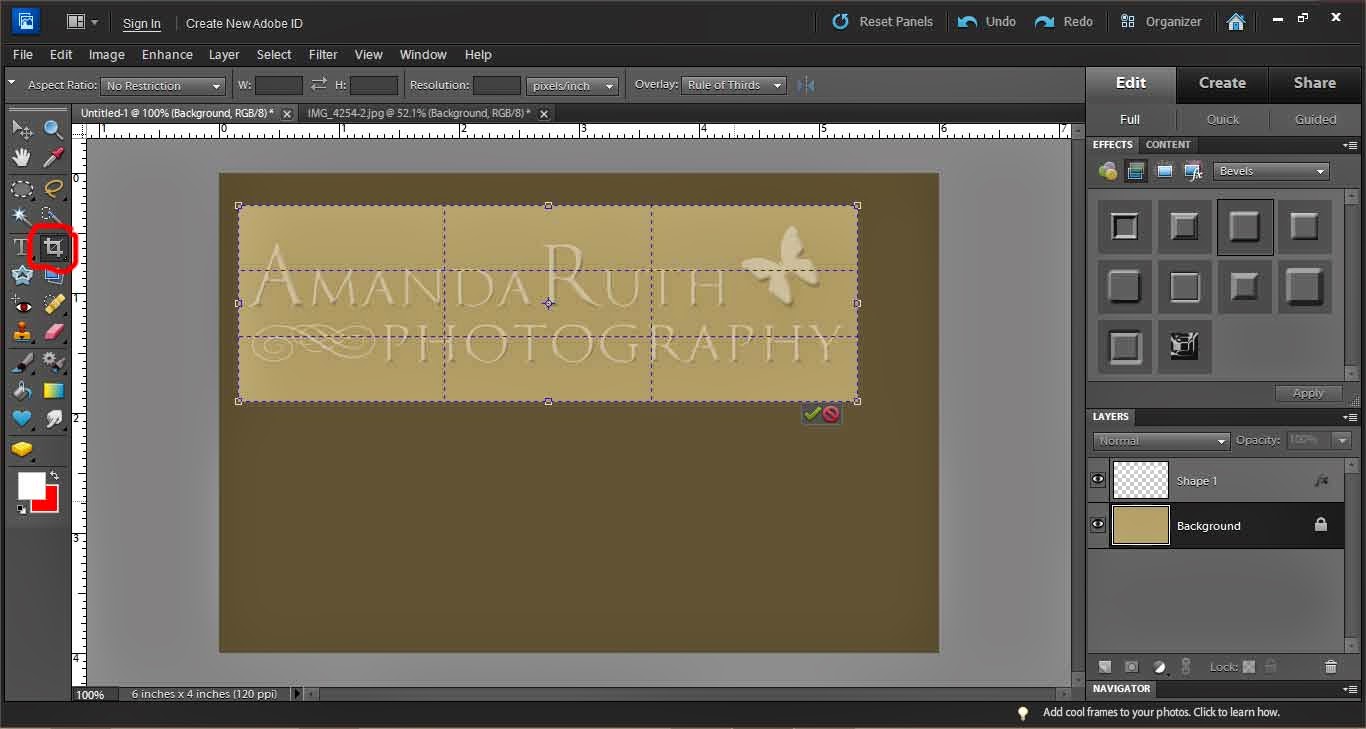
Now, lower the opacity of your logo so that it is translucent. I selected 25% opacity.

From here, you can drag the logo from your workspace directly onto a photograph in Photoshop.

Another option is to prepare your logo to be used in Lightroom. First, crop the logo so that there is little excess space around the edges.
Then, hide the background layer (deselect the eye in the layer box). This will make your logo completely translucent.
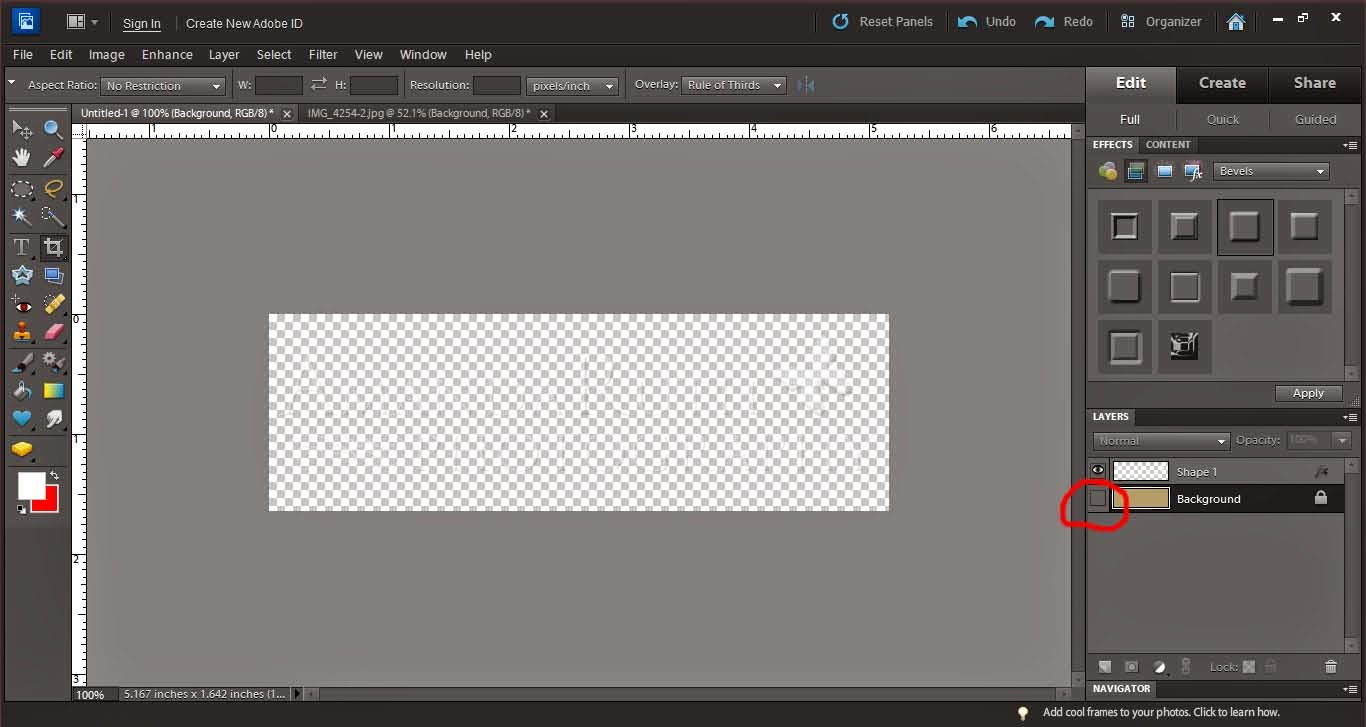
Save your image as a PNG file.

When it gives you the PNG options, select “None.”

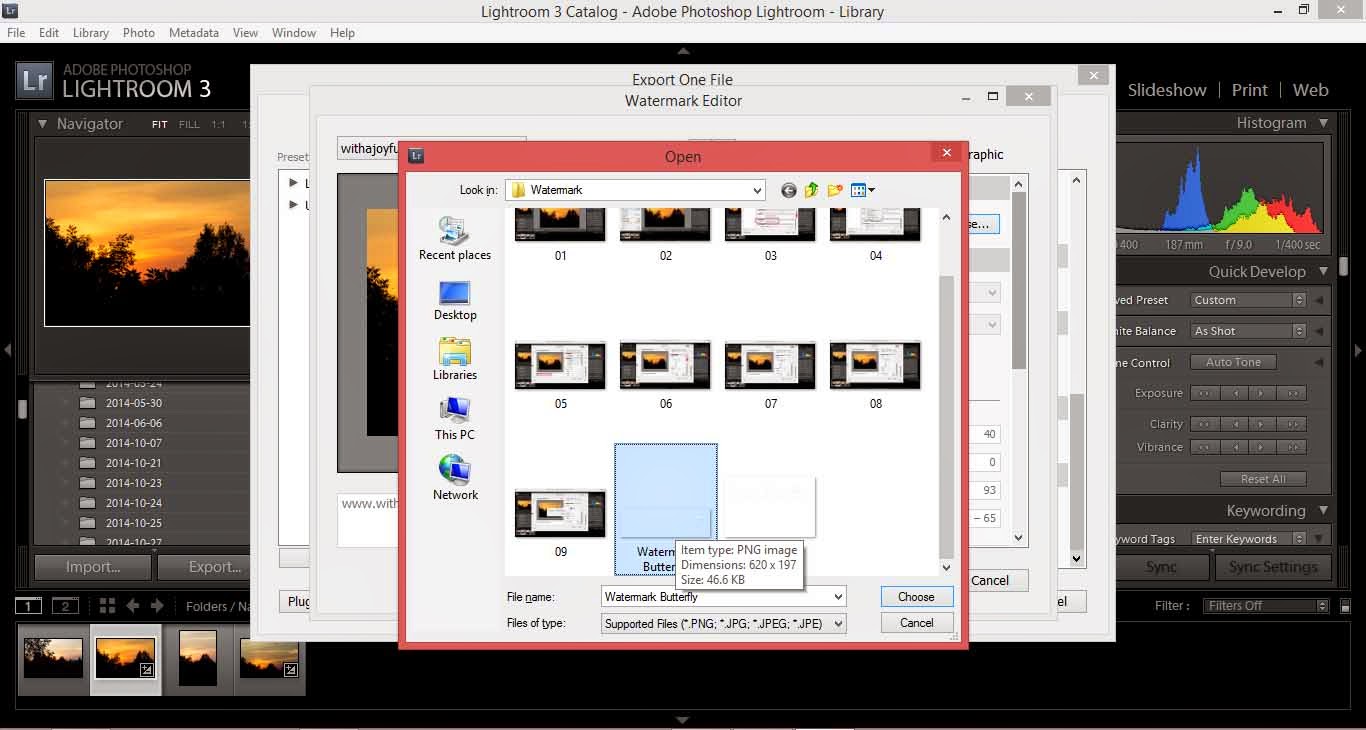
Now, back to Lightroom, go to the watermark window (same as when you made a simple logo). Under the first option, select “Choose.”
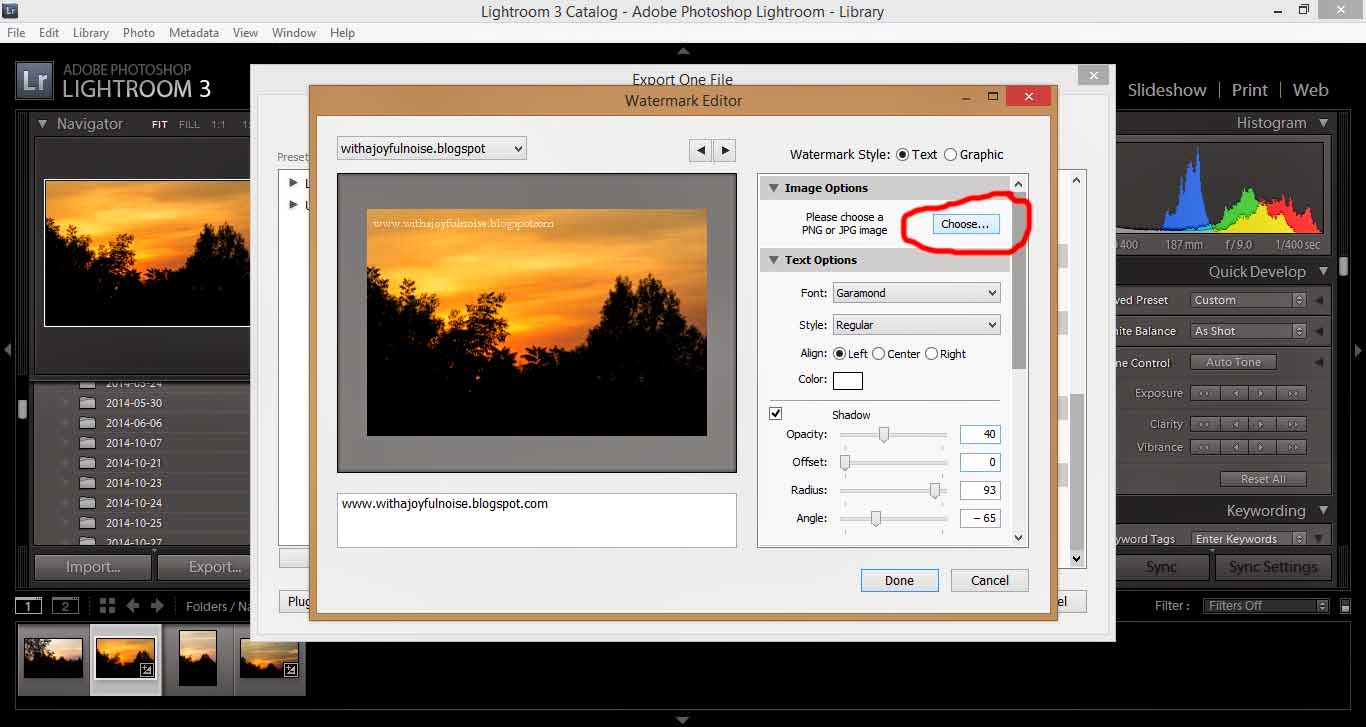
Open the PNG file that you just saved from Photoshop.
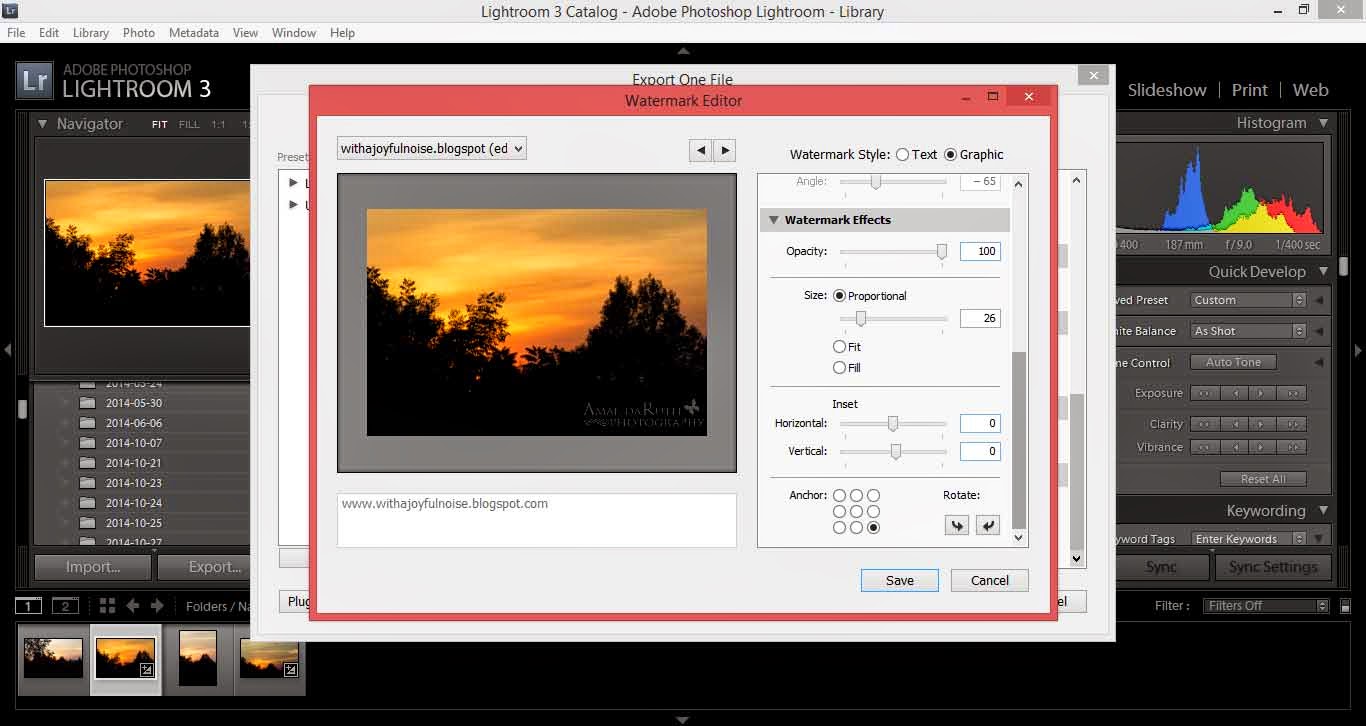
As with the simple watermark, you will need to play around with size and position until you get what suits you.
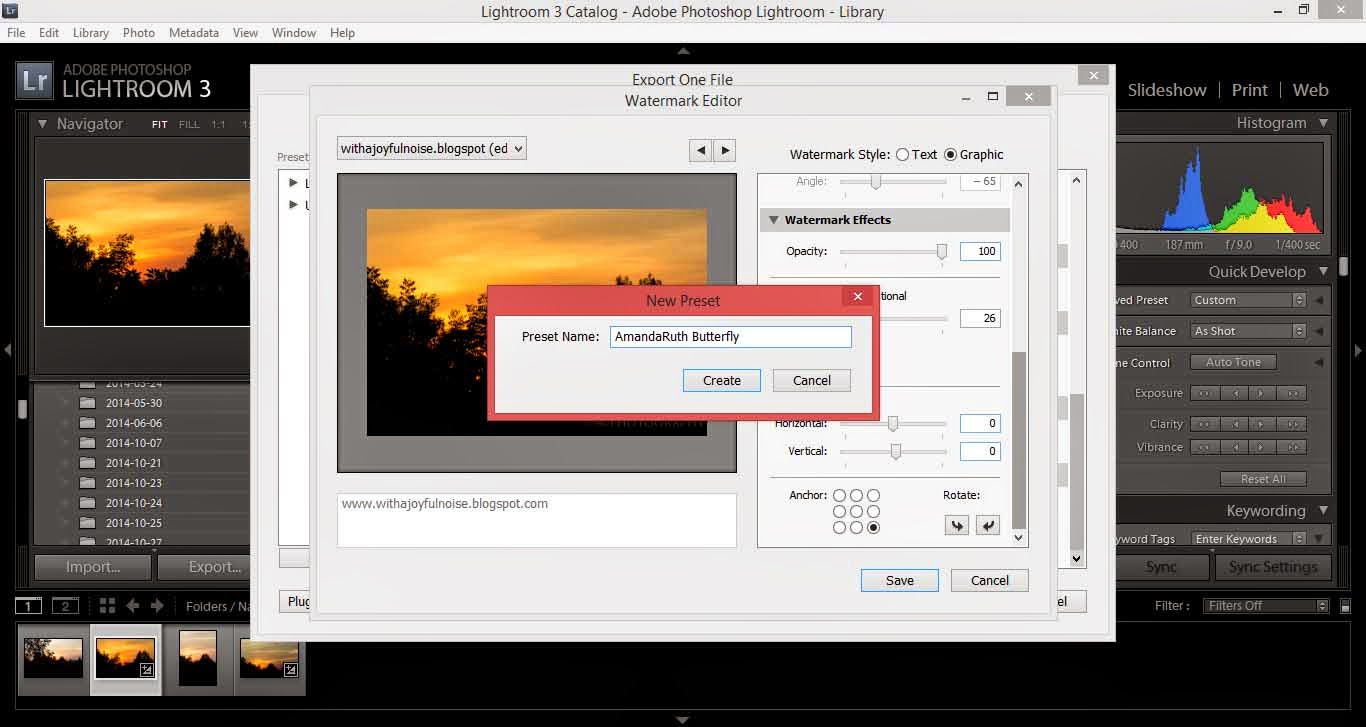
Save this as a new logo.
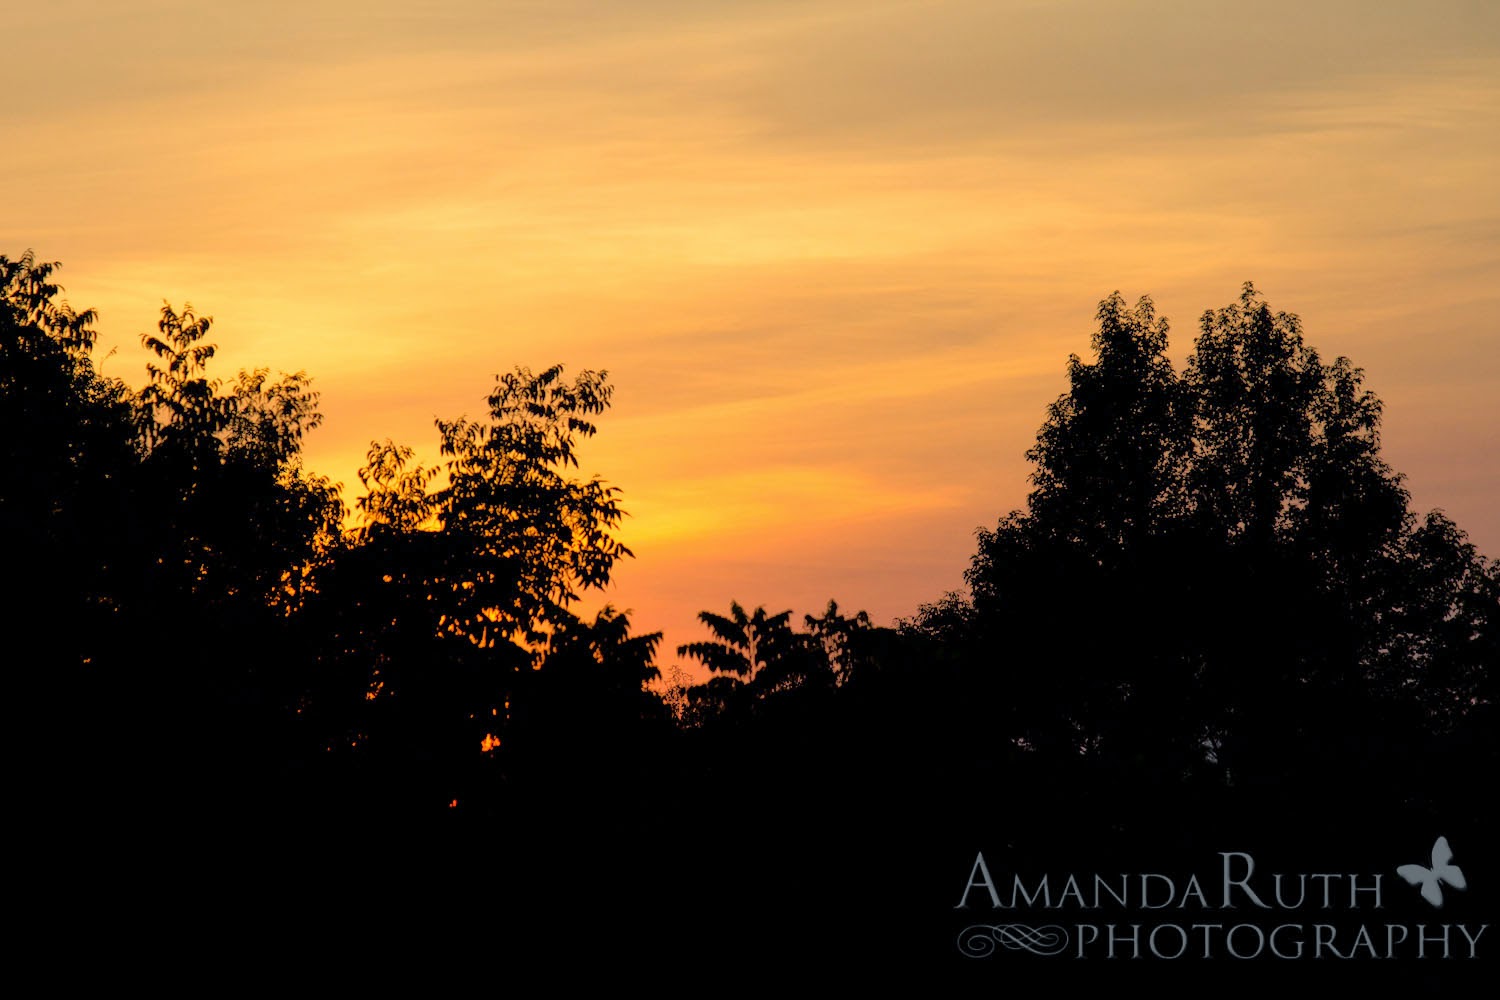
Export your picture (or hundreds of pictures) and there is your logo!

After you have edited your picture, export your picture (under “file>export”).

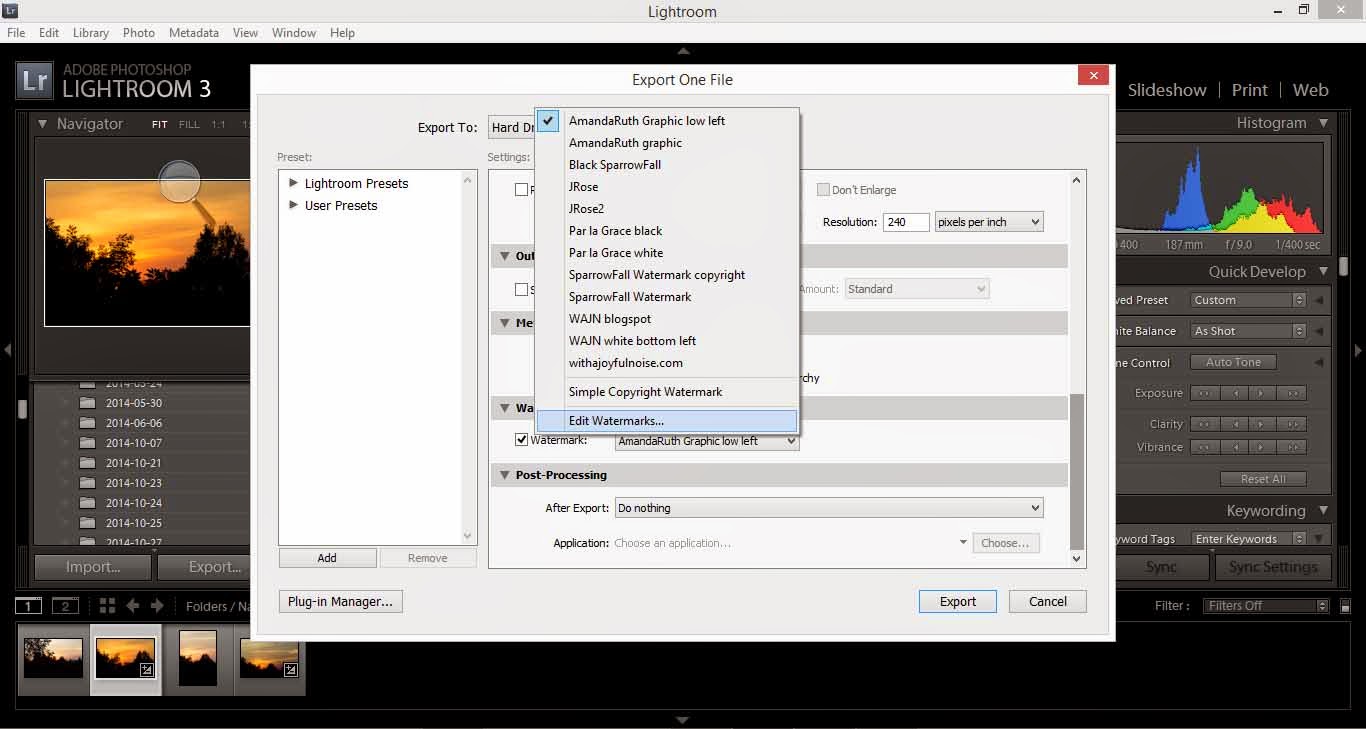
In the window that opens, you have various options. Scroll all of the way down until you see the option “Watermarking.”

You will need to create a new watermark (or, if you have a watermark already – like I do – click to edit watermarks at the very bottom).
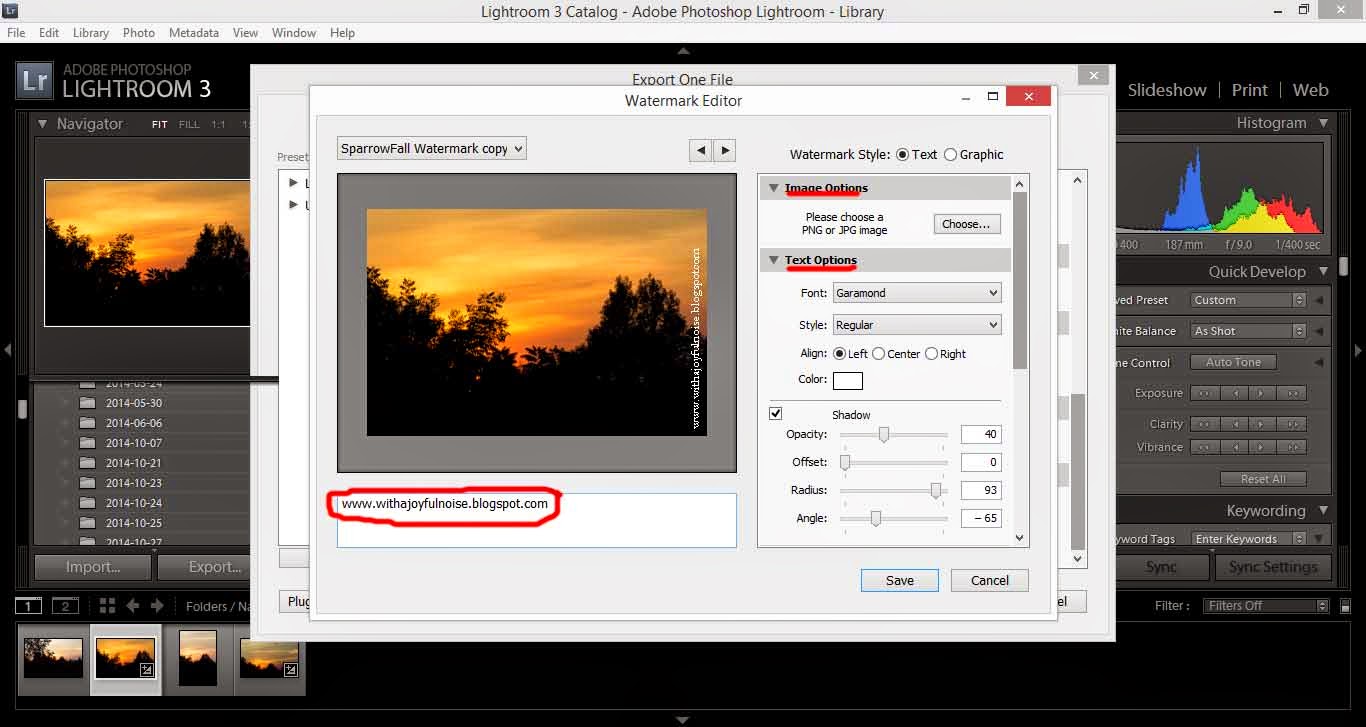
A new window will open. Notice that I circled the place where you will type in your watermark. I did “www.withajoyfulnoise.blogspot.com”
On the right, notice that you have various options: Image options (if you want to get advanced and have a logo instead of text), Text options (where you can select different fonts, styles, etc.) and if you scroll down . . .
. . . you will notice Watermark Effects (opacity, layout, etc.).
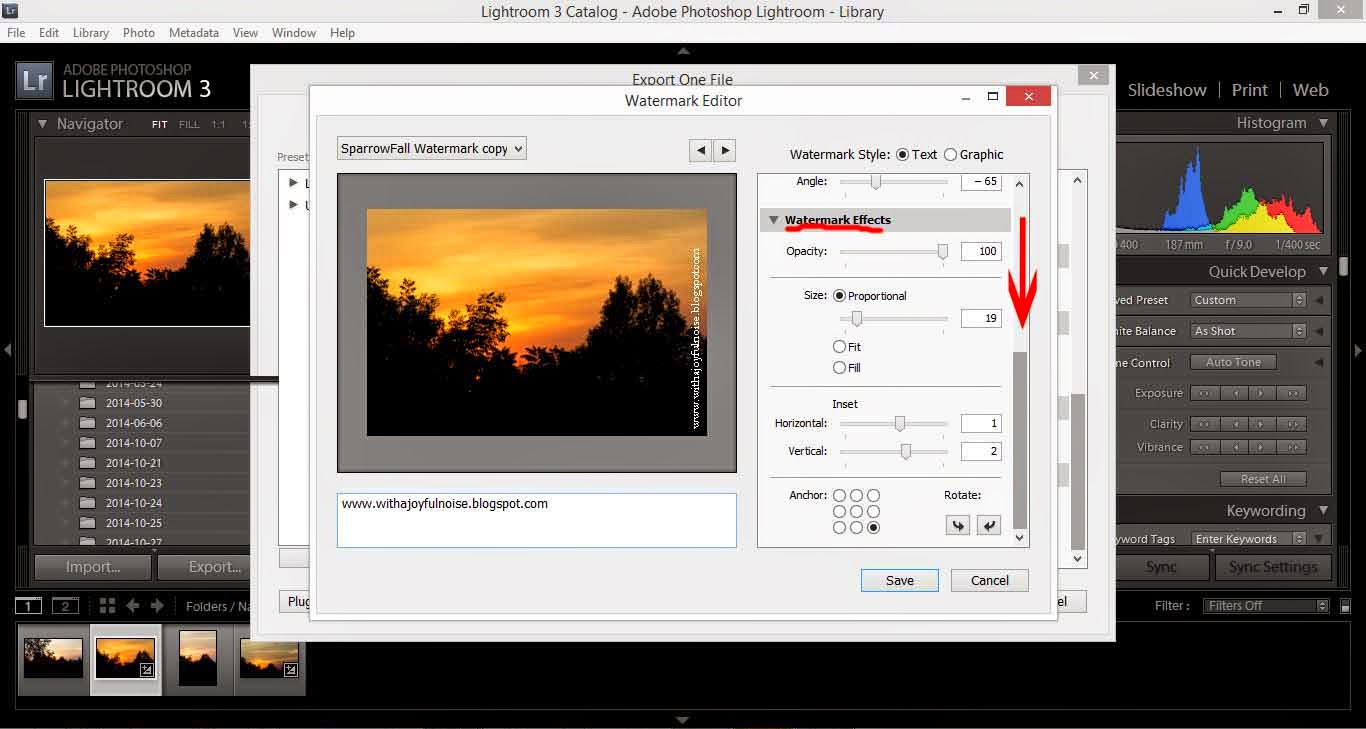
From here, you will play around with your watermark until you have placed it where you like, have it large or small enough, and so on. Just play around with it.
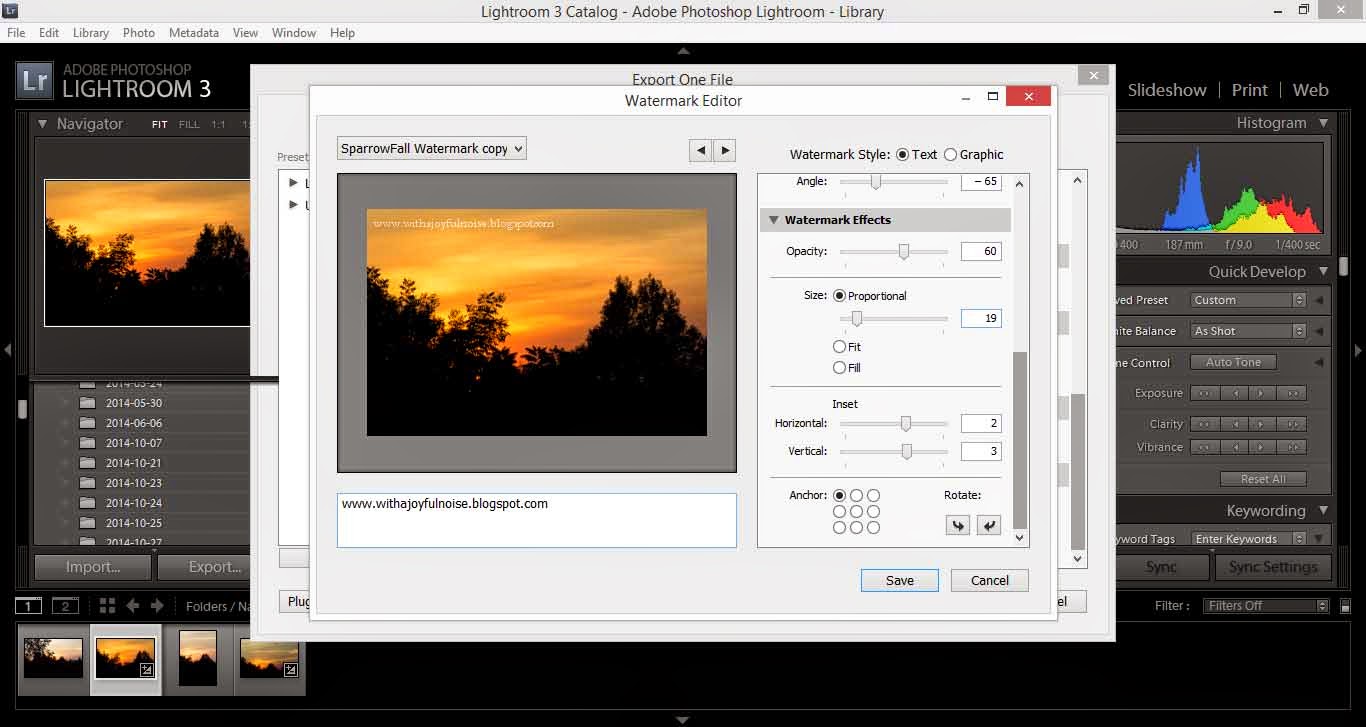
When it looks pretty, select “save.” It will pop up with a screen for you to title your watermark – this makes it easier the next time you decide to watermark you pictures: it will be there, ready and waiting.

Export your picture as usual and there you have it! Your picture has its watermark!
Hi all! My dad just informed me that he wasn’t comfortable with me posting pictures of my siblings online publicly (as in individuals). I can see his wisdom in this choice so if you’re looking for the photoshoots I’ve posted previously, you won’t find them. I may begin a private photography blog and will let you know if that proceeds. Thanks for understanding!

 |
| Sawdust flying – oh yeah! |
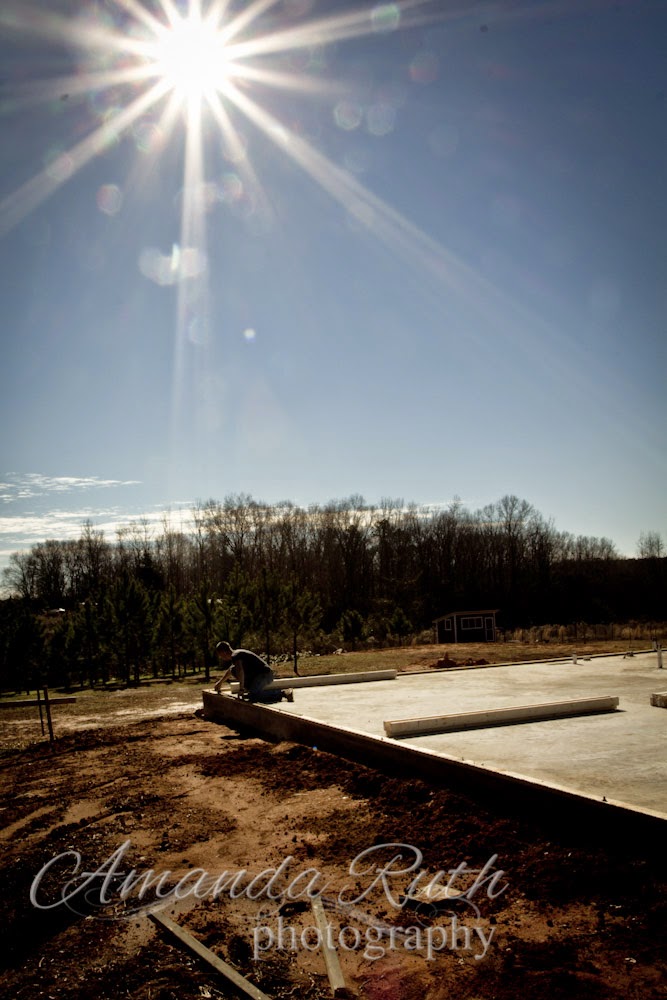 |
| Sunbeams really have me captivated right now – probably because I just figured out how to capture them on camera |


 |
| Sunbeams. What can I say? |


 |
| For those of you who are making snowmen right now, enjoy our Southern rendition 🙂 |
 |
| Credit to my sister, Naomi |


 |
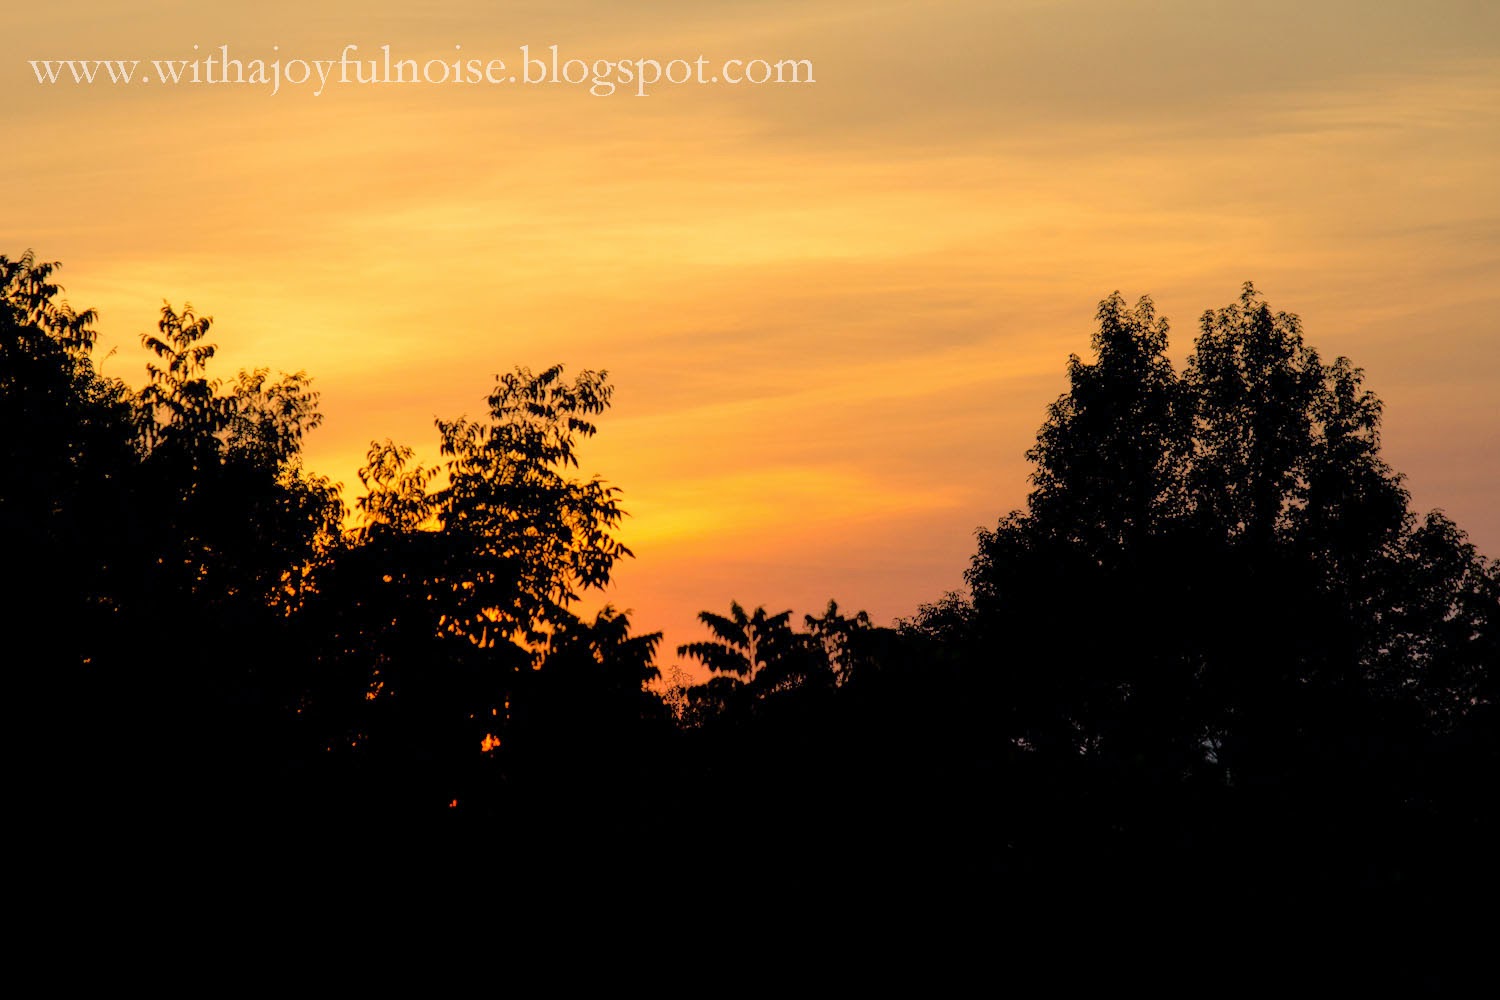
| I’m supposed to be capturing the buliding process not the sunset? Oh. Whoops! |

 |
| The clouds were just amazing. And the walls? Super exciting! |
 |
| Someone may or may not have eaten almost the whole bag of peanuts . . . |
